


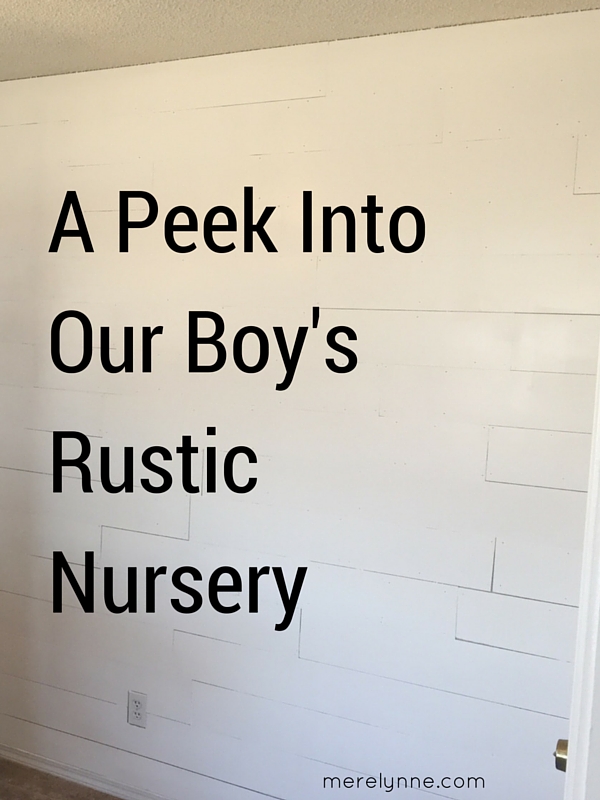
We have been making some great progress on our little boy’s nursery.
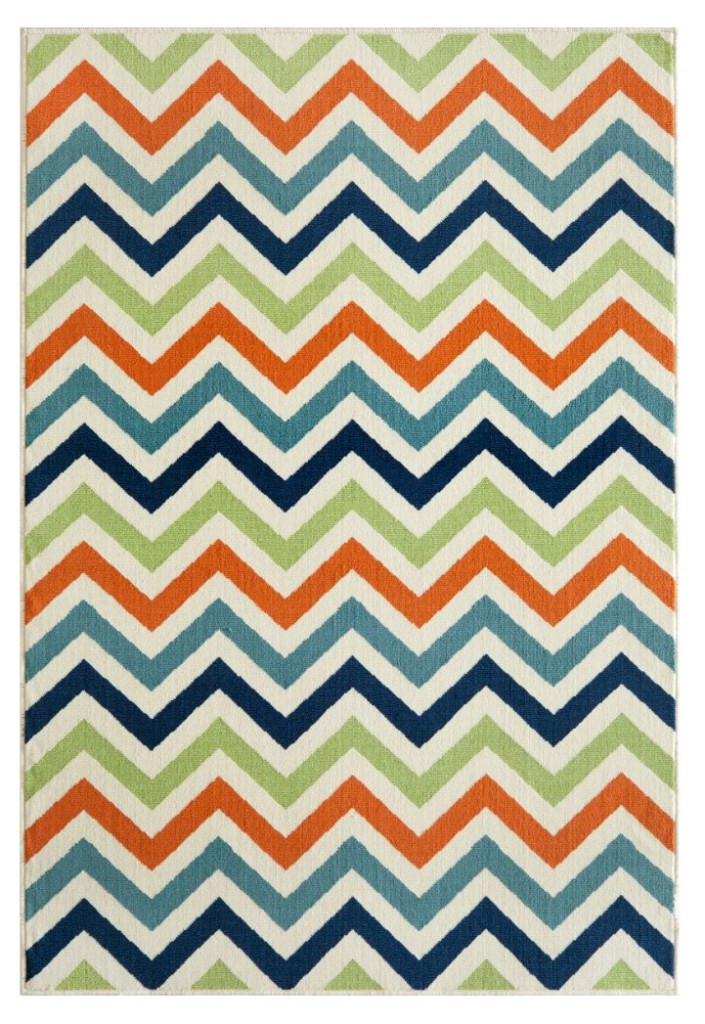
The first step was coming up with a theme, which actually wasn’t that hard. It all came together when we found a rug. This rug. I fell in love with the colors and the chevron pattern. Then we based every decision off of that. When I say we, I mean that I found something I liked and then confirmed it with J. But he really didn’t care.
The one thing J and I agreed on was having a room he could grow up in and one we wouldn’t have to change after a few years. So we avoided all the little baby themes and prints. No Winnie the Pooh or Mickey Mouse here! We picked a few colors we liked and went with it. I wanted more of a rustic theme, so we selected a few items that would pull that in.
We had quite a bit of work ahead of ourselves and we made a plan to knock out something each weekend. With it being tax season, I’m working 6 days a week right now so we didn’t have a ton of time to put it off. I knew I would be exhausted and not able to keep up with work and home obligations if we put off the nursery for too long. Plus, the thought of being close to 9 months pregnant and trying to get the nursery finished just wore me out! So…
We made a game plan for our boy’s nursery.
We started with a priority list and then just starting knocking tasks out.
I’m a planner and J is a planner. So we made a list of everything we needed to do. Here’s what we have on our list:
First was the closet. We had to switch closets around in the house since I was using the nursery one as my overflow. We had a lot of rearranging to do.
We went through our closets and made a huge, huge pile of clothes to donate. Then we purchased a closet organizer to install in the nursery. I would love to have an organizer in each closet, but that’s something we’re going to save for. It’s just not in our budget right now.
We discovered HGTV’s Fixer Upper.. I know, I know, where have we been? This show has apparently been on for awhile and has taken over like crazy, but we were sitting in the dark. So of course once we found Joanna and Chip Gaines, we had to have #shiplap in our home.
I was going to do a tutorial on how to this look, but I ended up working the day J and my brother-in-law put up the wood so it was just easier to let them go then to worry about creating a tutorial. I did find one of my favorite tutorials from Mandy Rose and decided to share her awesome DIY Shiplap video with you.
I had a vision of keeping the shiplap a wood color and doing a nice stain to help it stand out. But that didn’t happen. … I made a mistake and I don’t want you to make the same one, so I’m going to share it with you.
Don’t walk away from the man at Home Depot when he cuts your boards.
Just don’t. He cut ours so wrong! In the end I assumed he knew what I meant, but he obviously didn’t. So don’t make that mistake. Stay with the Home Depot associate while he cuts your boards. Please!
We used underlayment as our boards, which made it so much more inexpensive when compared to using pre-cut shiplap boards. The boards measure about 8′ long and 4′ wide. We asked for ours to be cut into 8-inch strips that were 8′ long, but that’s not what we got. Our Home Depot said they could only go as small as 12-inch strips. So we went with that and decided to use our neighbor’s table saw to slice them down the middle. I explained that I wanted them cut long-ways and then I walked away.
Big Mistake!! Huge!
He cut them to be 4′ long instead of 8′. Which meant it went against the grain of the wood. I was devastated. A pregnant lady on the verge of tears in Home Depot was not pretty. My poor husband didn’t know what to do with me. He was willing to not accept them, but it wasn’t worth it to me. I felt like I was the one that made the mistake and I just wanted out of there.
I decided to just switch my game plan. I thought about it and decided to use the gallon of white paint we bought for the small closet and just paint the boards a bright white. In the end, it worked out better… Our nursery is a bit on the small side, so I think naturally stained wood would have been a bit cave-like.
Overall, the shiplap really fits in and helps with the rustic theme perfectly! Using white paint helped bring out the seams and cracks between the boards. Plus, I am not a perfectionist so some of the boards are a little wider than others and I think it looks great.
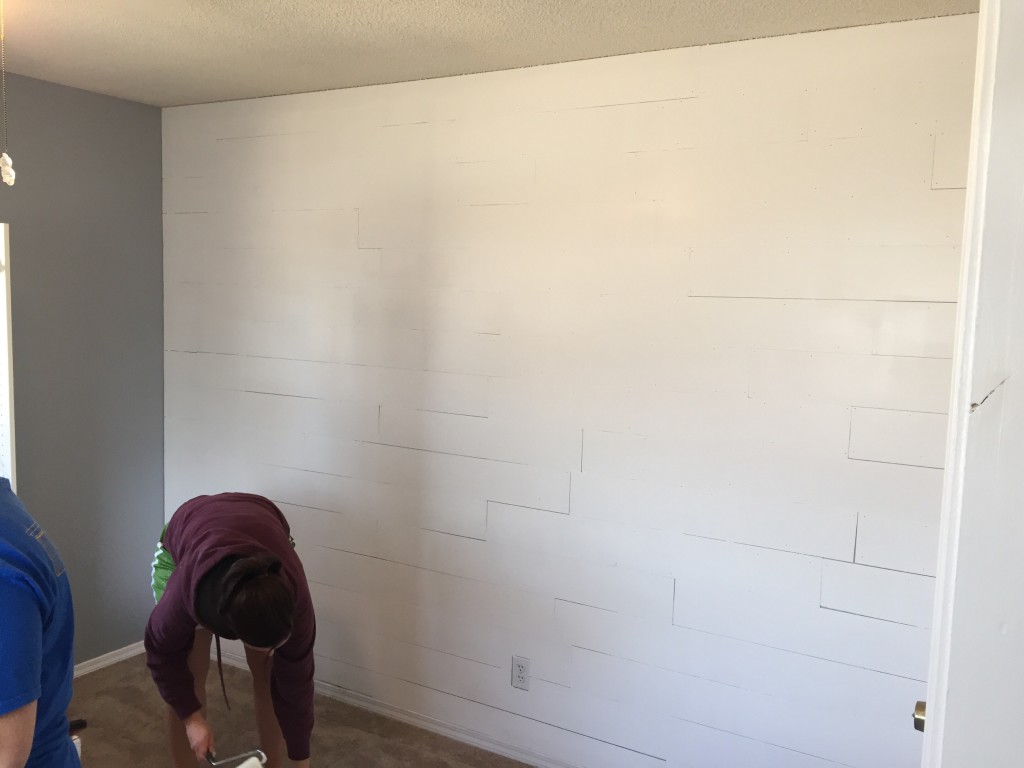
J, my sister and brother-in-law did all of the work. My sister painted the rest of the room a pretty gray, while the two guys worked on the shiplap wall. I am so lucky to have them! All that’s left for our boy’s nursery is put together the crib and move in the rest of the furniture. I can’t wait to share the final pictures with you!

Latest posts by Meredith Rines, MBA, CFP® (see all)
- How To 10X Your Productivity With This Simple Tool // Using A Red Line Graph - June 24, 2020
- Mini DIY Office Makeover [Photowall Review] - June 17, 2020
- How To Track Your Projects and Profit With Subcontractors - June 11, 2020