Category: DIY

How to Score Cheap Party Decorations

How to Score Cheap Party Decorations

Not too long ago I threw a nice little gathering at my work. You see, at the end of every tax season we like to celebrate with our clients and friends. Thanking them for another successful year.  I also throw an open house during Christmas time to wrap up the year. This past year, I switched out the Christmas theme for a surprise birthday party for my Dad (who happens to own the firm).

Outside of work, I just love throwing parties for friends.  Right now it seems like all of my close friends are having babies so I’ve been the queen of baby showers recently.  Not too mention, with me being pregnant – babies are on my mind!  A few years back I was really good at throwing wedding showers since my now pregnant or new-mom friends were getting married.  It seems like life goes in a cycle, doesn’t it?

Anyway, any excuse to throw a fun party is always welcomed around me.  I love a good theme, yummy food and a place to gather with friends and family.

Since I like to be pretty crafty, I have a tendency to make my own signs or invitations then have printed at a local print shop.  But for decorations, I like to make a splash.  Now, I try not to go overboard and I really don’t like spending a ton of money.  So I’ve found a good way to get a great impact on the cheap!

cheap party decorations

Here’s how I score cheap party decorations…
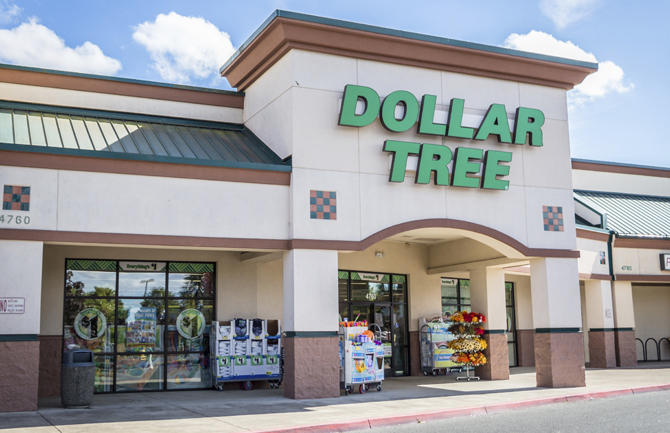
Dollar Tree.

Yep, that’s right. I shop at the local Dollar Tree for all my party supplies – for any event.  Birthday parties, anniversary parties, new year’s parties, open houses, baby showers, wedding showers, and so much more.  If you can think of a party to throw, then you can probably get your decorations at Dollar Tree.

Balloons aren’t very expensive ($1), plus they are one of the only places in town that will do same-day balloons for me. I could call a local florists, but their prices are so much higher and typically, I need to have an order placed a few days in advance.  We only need balloons for a day, so as long as the last 24 hours, I’m good!  But these balloons always ended up lasting a few days or even close to a week before they start deflating.

I also like their streamers, which they have a bunch of different colors that come in 2 rolls per pack for only $1.  I bought several different colors when we were hosting my Dad’s birthday party.

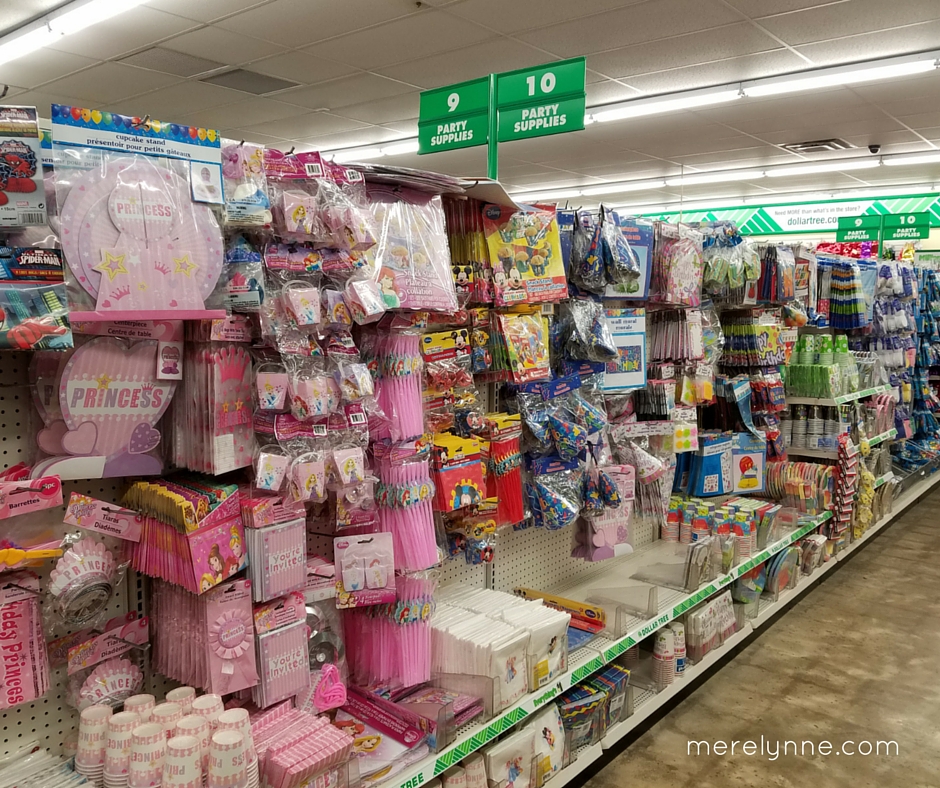
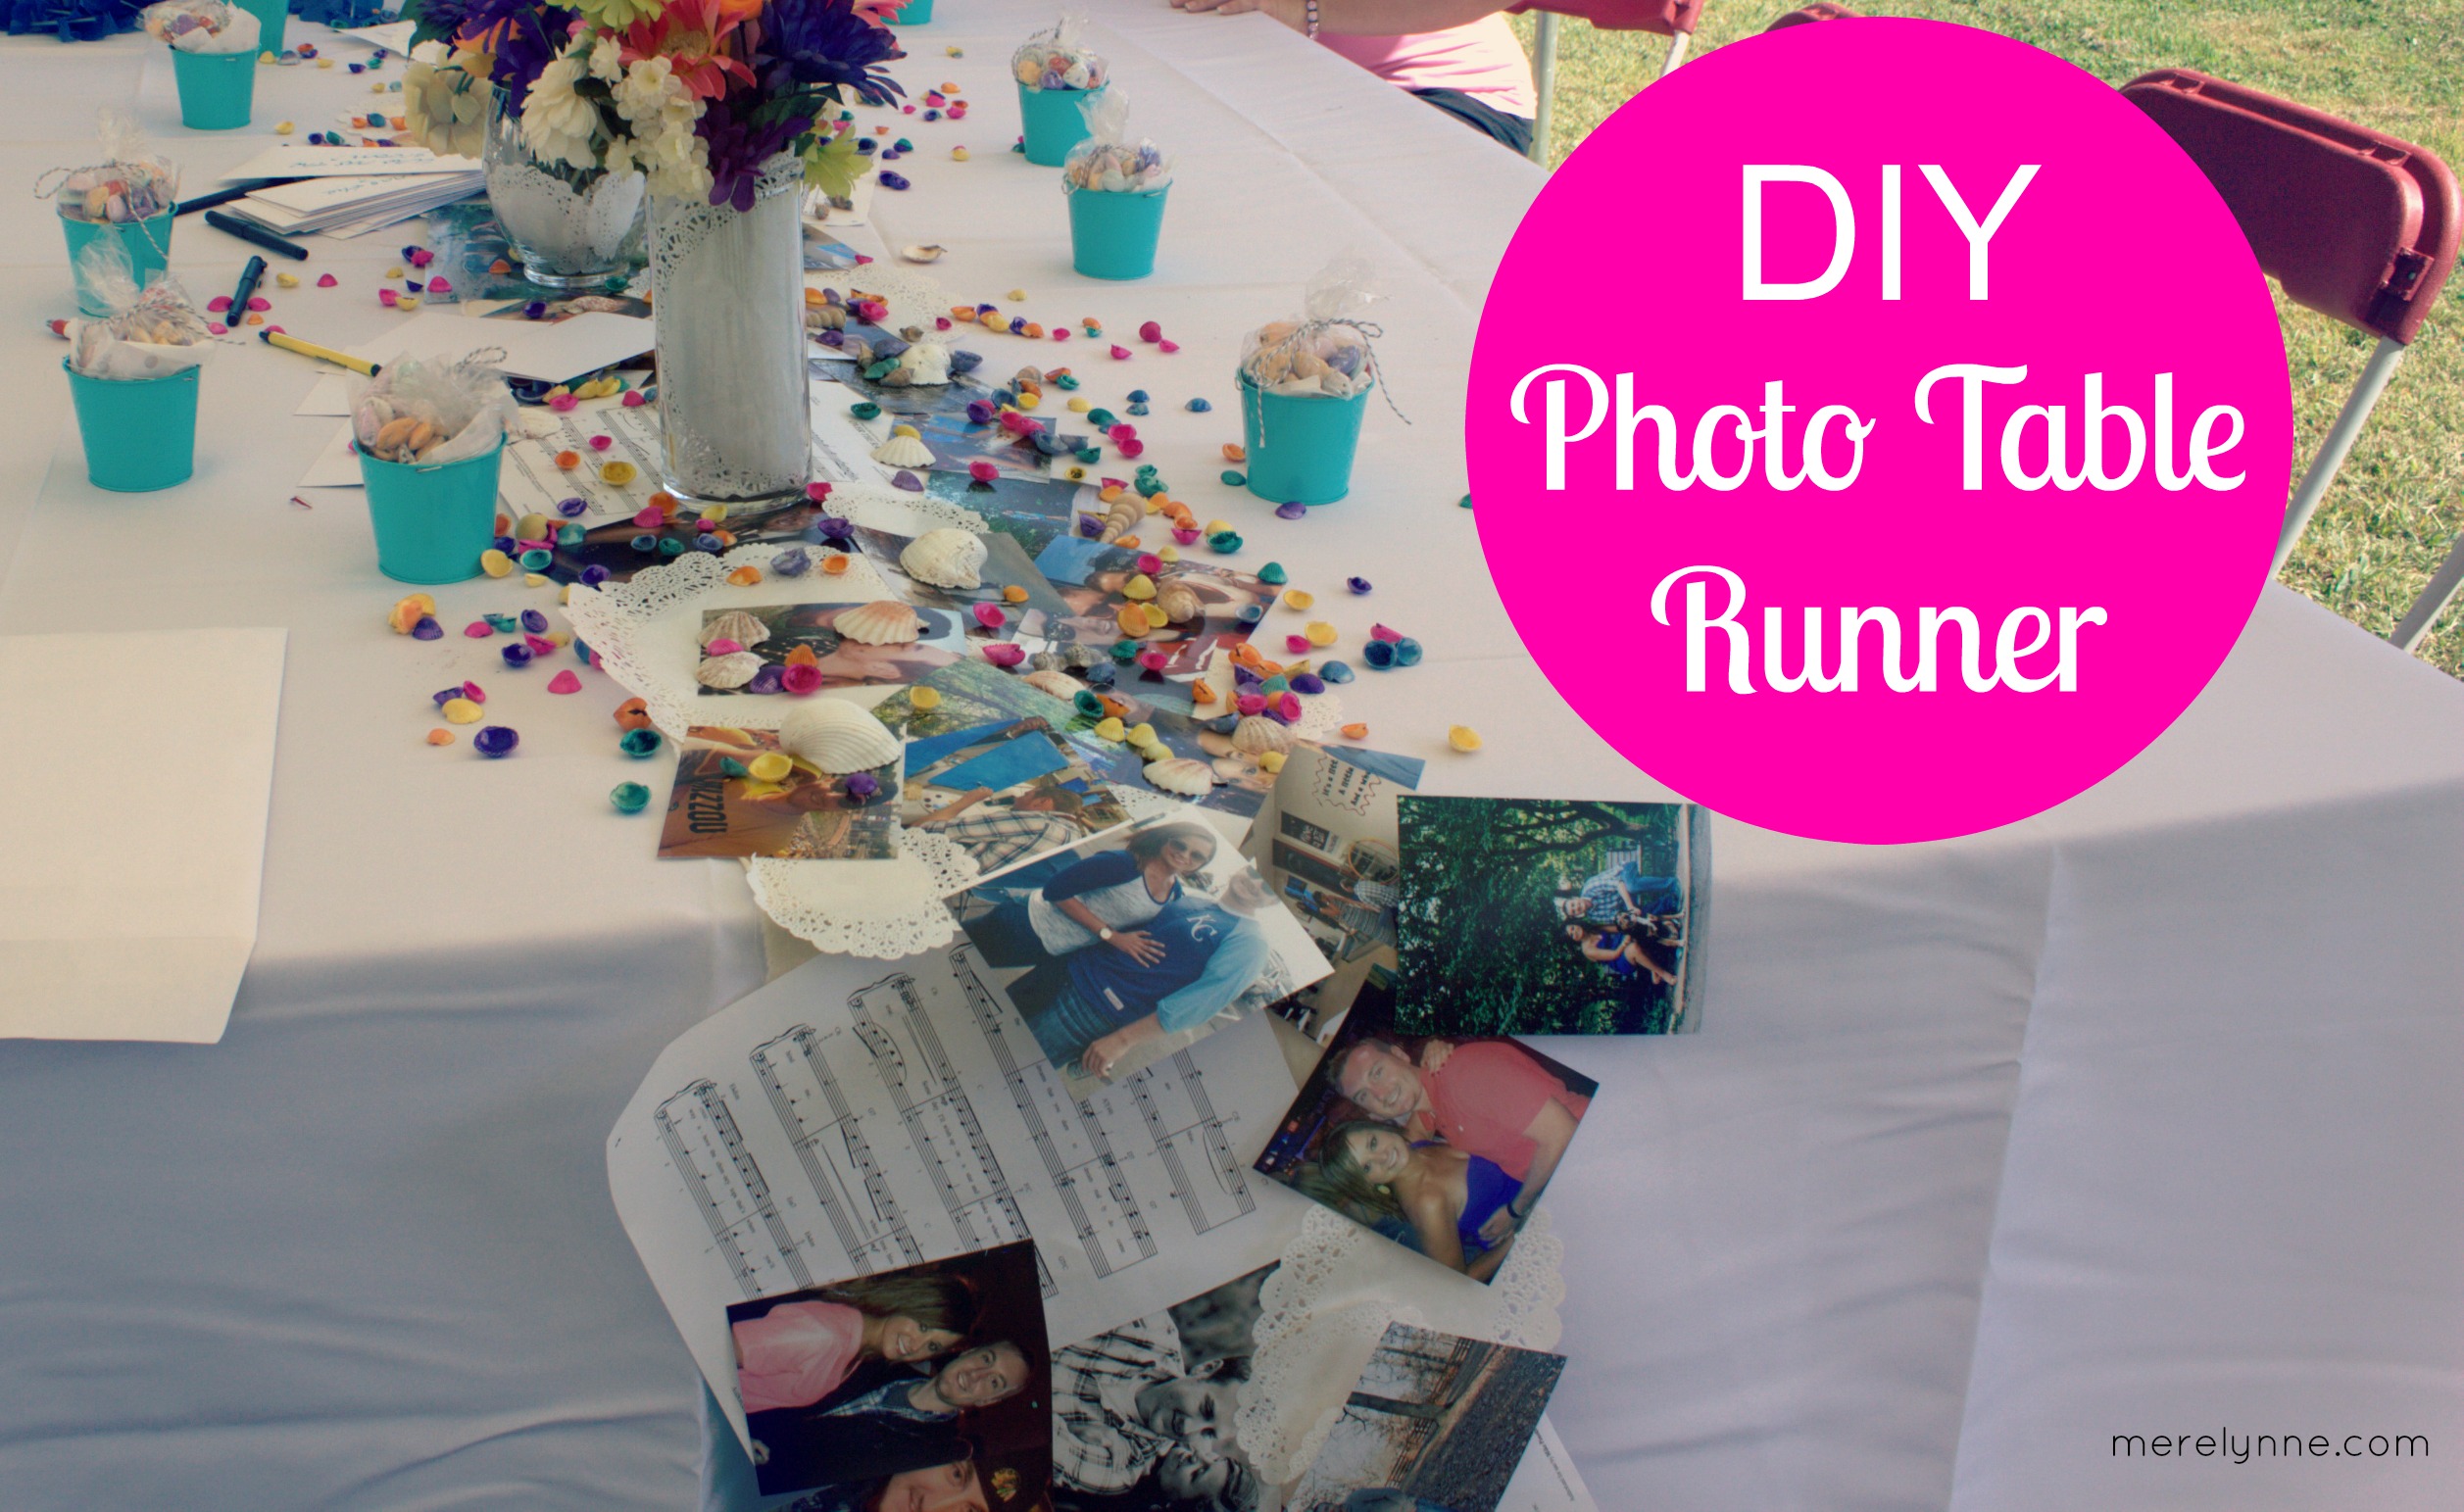
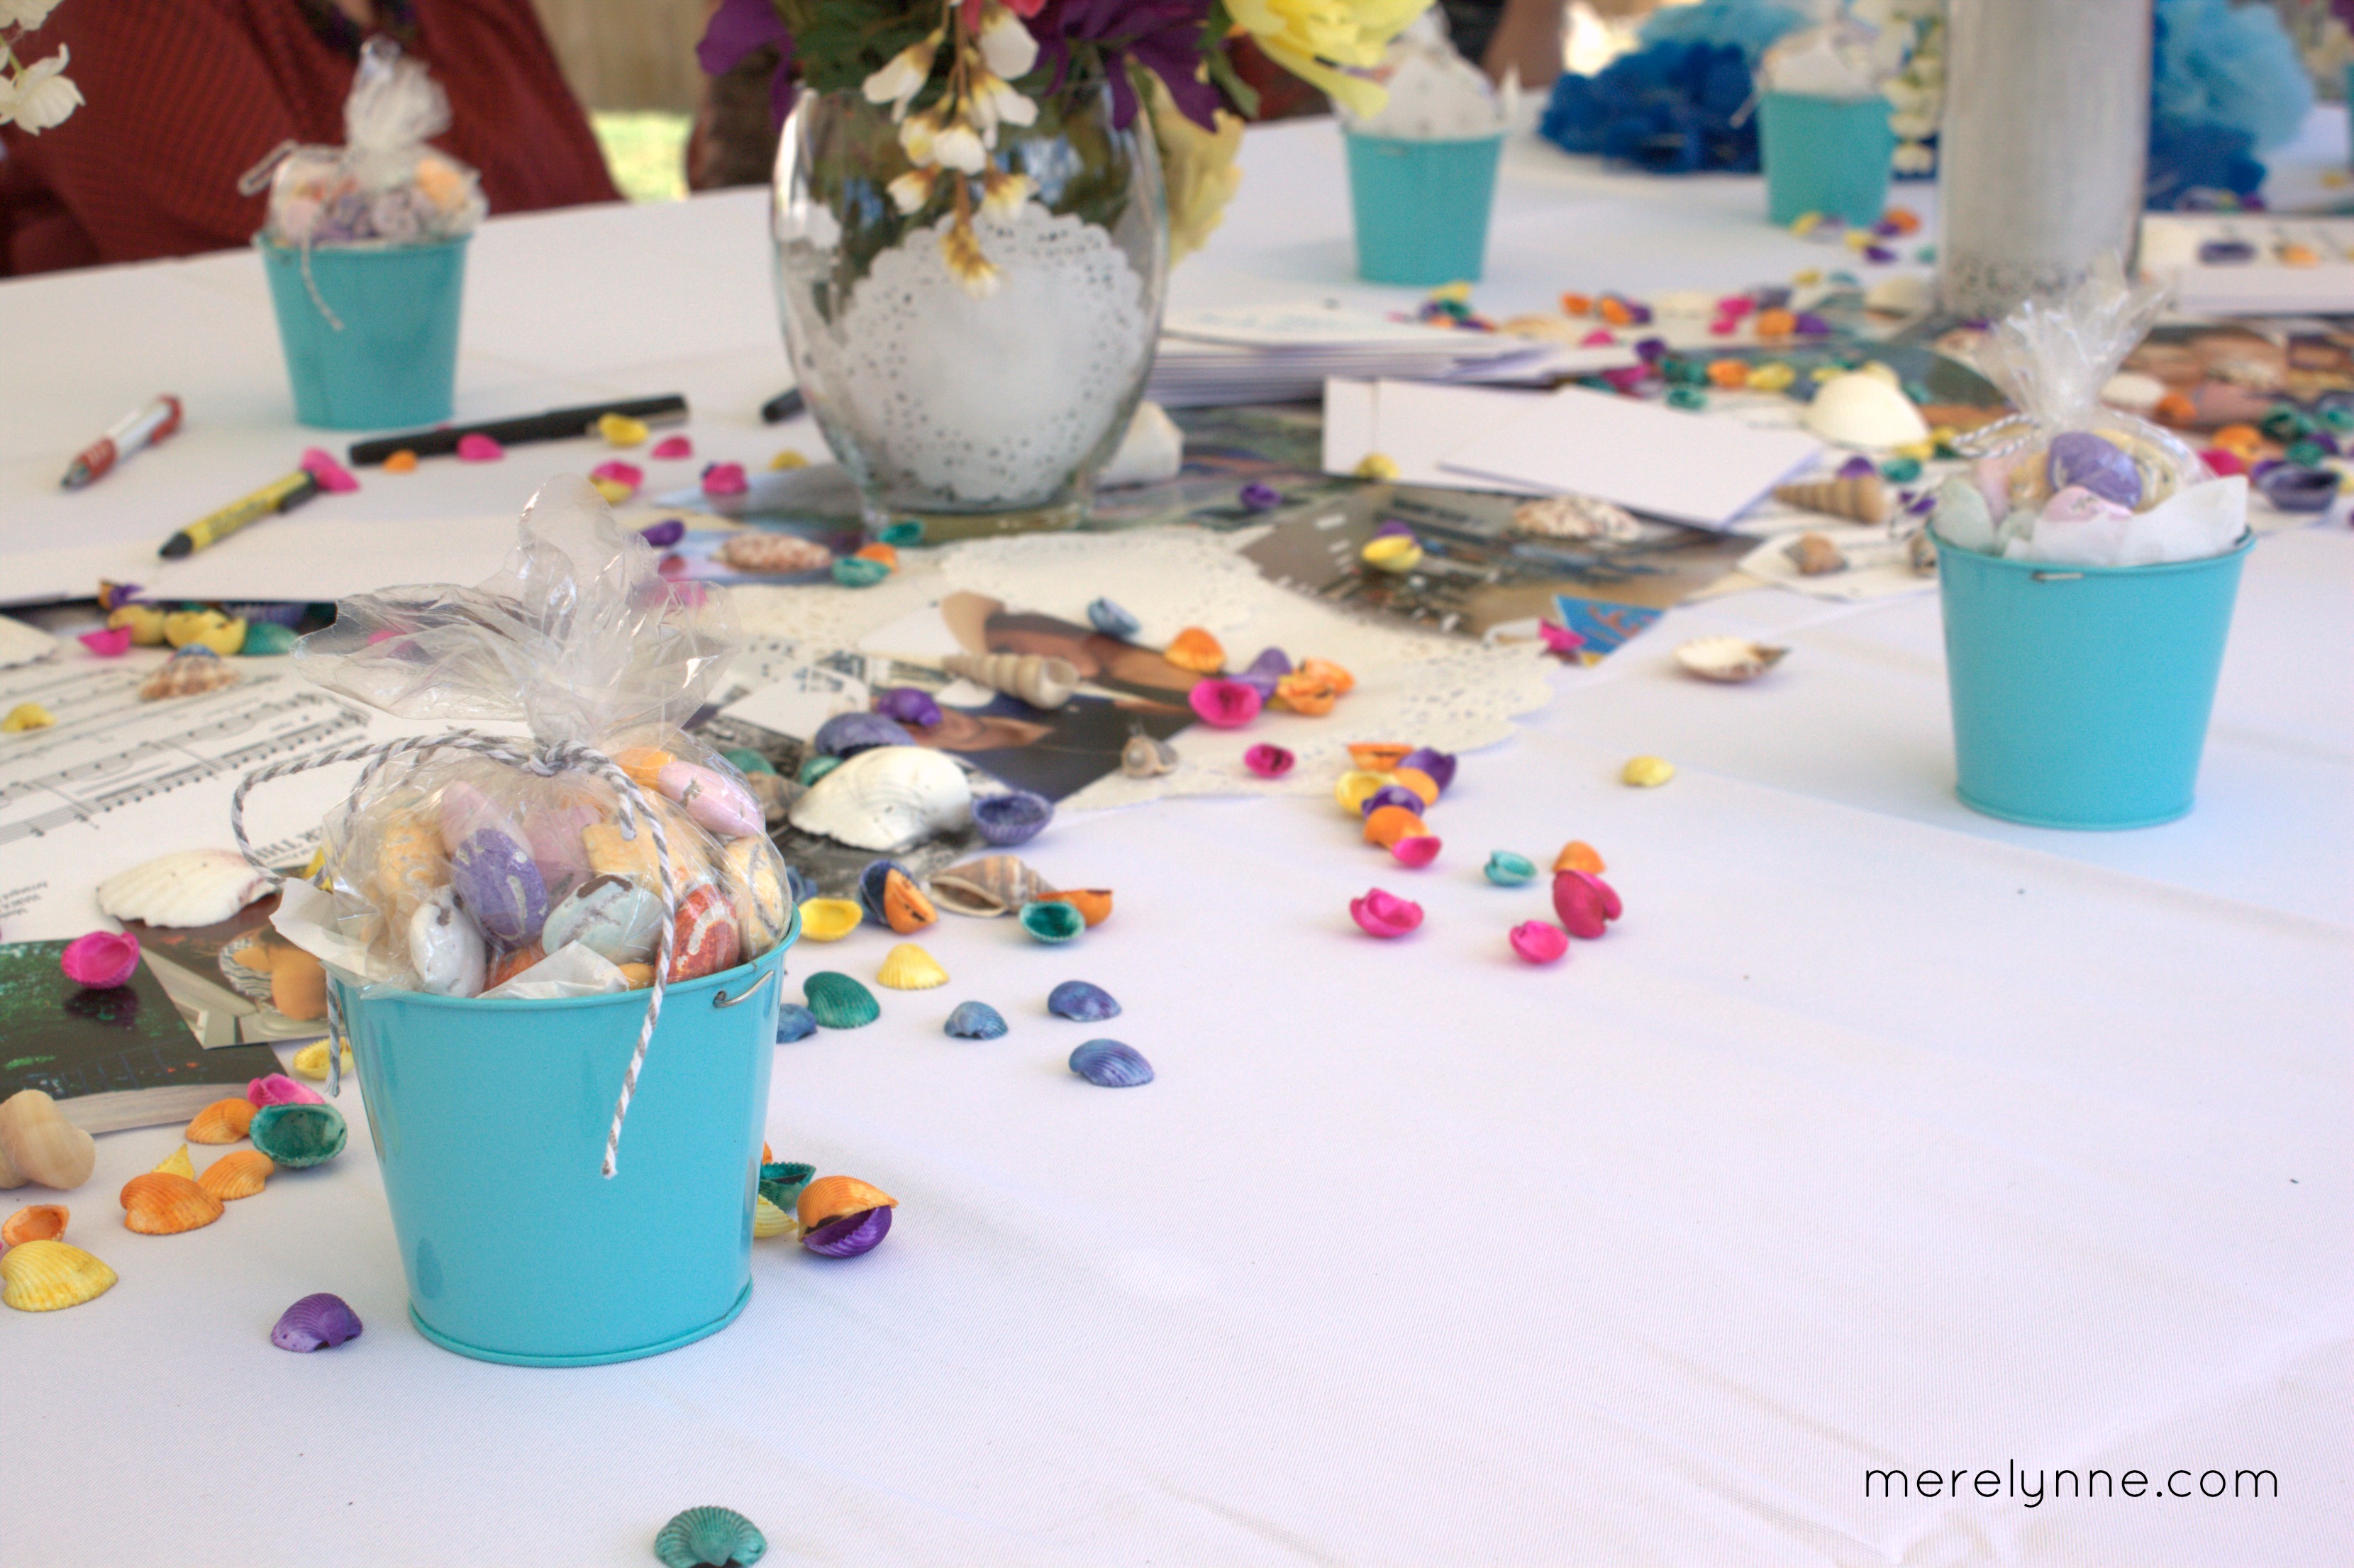
They also have table centerpieces, confetti,and wall hangings. You guessed it… everything is only $1 each.

cheap party decorations, dollar tree cheap party decorations, dollar tree

cheap party decorations, dollar tree

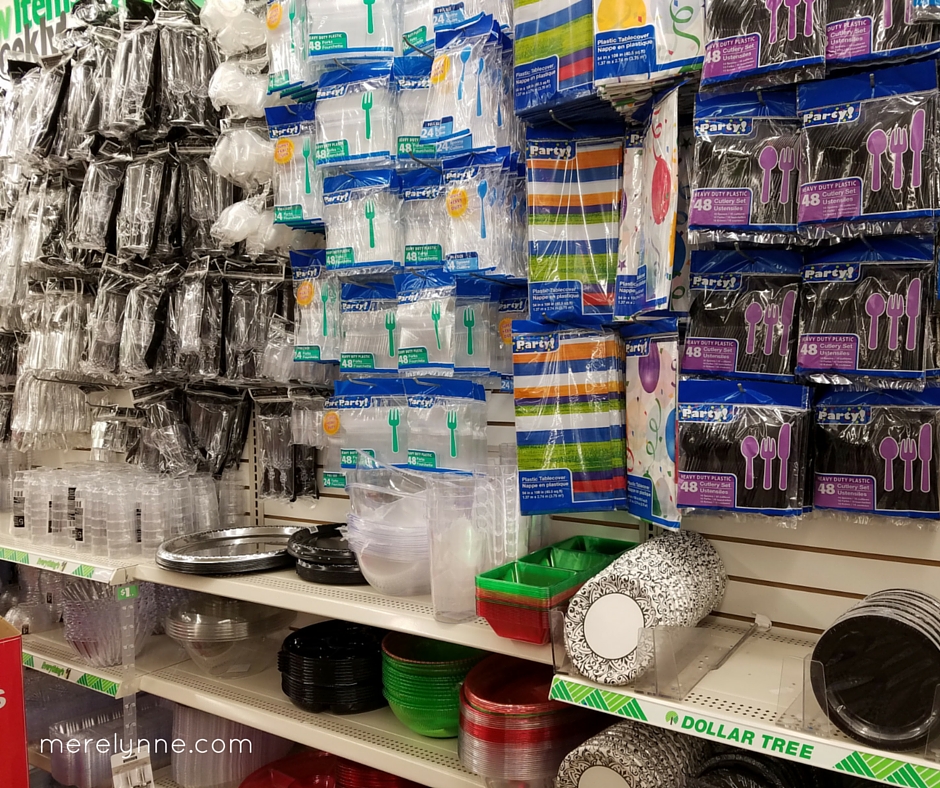
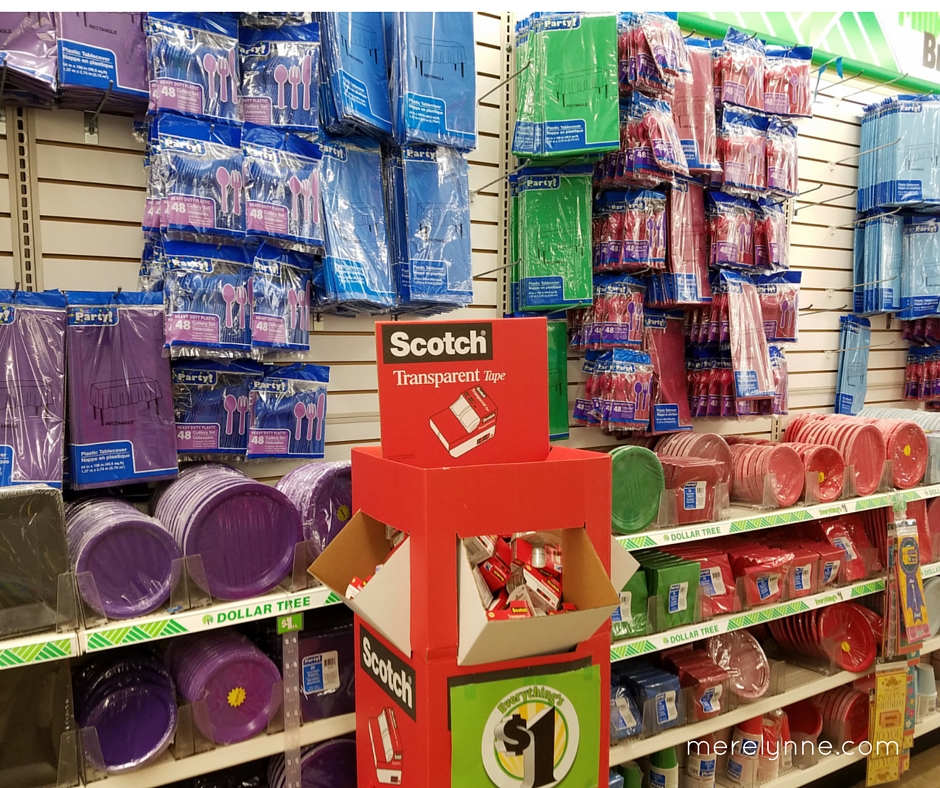
I also am a huge fan of their plastic plates and silverware. You can buy colored plates, glasses, napkins, silverware and guess what? Each pack is only $1.

I typically by the plastic silverware from Wal-Mart because I can get a larger count for less money, but the plates and napkins are hard to beat.

Plus Dollar Tree has serving utensils and platters on the cheap, too! We’ve actually put ours in the dishwasher a few times and they are still holding up. But for only $1 it’s not a bad deal in case they get tossed after the party.

I’ve even used their gift bags as part of our favors.  I couldn’t find enough gift bags and the right sized bags anywhere in town for our last open house.  I was browsing Dollar Tree and there they were.  The perfect bags, the perfect amount and at the perfect price.  $1 for 12 bags was perfect.  I ended up grabbing a few packages to make all of the favors and ended up with some leftover.

I never break my party budget at the office or our personal budget when I’m hosting a party.

I am not being compensated from Dollar Tree for my opinions on their awesome party decorations.  I am just a huge fan of cheap party decorations that are easy for me to get.

DIY Dryer Balls – How to Save Money on Laundry

DIY Dryer Foil Balls, diy dryer balls

To go along with our Focus on Finances this month, I’m sharing a tip on saving money with your laundry.  This one little tip can really add up the savings!  These are the easiest DIY dryer balls you will ever see! Hands down!

This past weekend I decided to really catch up on all of our laundry.  When I say really catch-up that means run close to 6 loads in one day.  For two people that’s a lot.  Now if you have several children and they all play sports or are just kids then you may feel 6 loads is an average.  But around our house, 6 is a lot.  

DIY Foil dryer balls, save money on laundry, diy laundry balls

What can 2 people dirty up in one week that requires 6 loads of laundry?  Well… let me tell you…

I did our clothes, J’s work uniforms, sheets and towels, blankets from our bed, blankets from the couch, and rugs.  I probably could have broken up our clothes into at least 2 loads, but our new washer is the best.  We just purchased a brand new washer from Sears.  It is the first new washer I’ve ever owned.  I’ve always had hand me downs, which was great!  They were free and did the job just fine.  But now that I’ve had the taste of what a new washer is like… boy! I can’t wait to get a new dryer to match!  This new washer really holds a lot, especially compared to the little guy I had beforehand that got me all the way through college.

By the end of the day, our clothes were full of static.  It didn’t help that I had been going non-stop and the fact it was barely 30 degrees outside all day.  Whenever the temperatures drop, the static goes up in our house.  I have been researching like crazy on a way to handle all of our static electricity without adding too much to our laundry costs each month…

how to save money on laundry

Let’s be honest, when it’s 30 degrees or even when it’s 90 degrees, I am not going to hang our clothes on a line to draw.  During the summer months, we have too many mosquitoes and the last thing I want is to give them a landing ground that will end up inside.  Plus, I’ve never hung clothes on a line.  Sure, we hang our nice clothes up to dry, but not t-shirts and towels.

I think I found it… I found the solution…

Foil dryer balls.

DIY Dryer Foil Balls

I’ve seen the wool, felt balls all over Pinterest and they look great.  But let’s be honest for a minute, I am not going to take the time to make them.  It’s just going to happen.  I need a quick-fix.  Plus, I don’t have the yarn I would need to make these amazing dryer balls and I’m frugal… so I like using what I have on hand.

Enter in…

Foil dryer balls.

What?!!?

You read that right!  I am now using foil dryer balls in my dryer.  They work great!  I did some research to make sure I wouldn’t be starting a fire by putting foil in my dryer.  After reading about it, I realized that it would be safe.*  The dryer hose is foil, right?  I gave it a try and I’m in love.  

Here’s what you need for foil dryer balls:

a few sheets of foil

tennis ball (optional – see below why you may want one)

make your own dryer foil balls

If you want to just use foil, then wad one piece of foil into a ball and then wrap the other sheets over it to make it a bit bigger.  The foil dryer ball will last quite awhile so there isn’t a need to replace after every cycle.  These will really, really help with static cling.  Especially right now with the weather getting colder and the air getting dryer, I’ve noticed most of our loads of laundry are full of static electricity.  

dryer balls

Ever since I started using the foil dryer balls, our static issues have vanished.  

Why is a tennis ball optional?  Well let me tell you…

A benefit of the felt dryer balls is the weight.  The weight of the balls causes them to bounce around while the dryer is going, which helps make your clothes softer and fluffier.  So, that’s where the tennis ball comes into play.  

You can wrap a tennis boil with the foil.  Do several layers of foil.  They will hold up in the dryer and provide the weight you need to get your clothes and towels extra fluffy.

Soft and fluffy cloths aren’t really a necessity in our house.  I hang-dry most of our nice clothes and I don’t really care if our bath towels are extra fluffy or not.  But it is a great option that’s still inexpensive.

I bet you will notice a difference when you start using foil dryer balls in your dryer.  I did!
*please do your own research to make sure.  Just because it worked for me, I don’t want anyone blaming me for any mistakes.

Extra Income Journal

extra income journal, income tracker
I have a thing for budgets and paying down debt.  So it should come as no surprise that I want to keep track of any ‘extra’ income that we come across.  When I say extra I’m talking about birthday money, work bonuses, second jobs (if we get them), etc.  I’d like to know how much more money J and I can earn if we bust our butts a little.

I carry a journal with me at all times.  You never know when an idea will strike or a grocery list needs to be written down or when you’re going to need a piece of paper.  So I carry one that I got as a gift years ago.  I always have about 5 journals laying around not being used.  So I just use one until I break it or run out of paper then I swap it out for a new one.

The extra income journal is not hard to create.  Simply make a page for each month then make a column for a description of what the income is for and a second column for the net amount.  I try to be detailed in the description section.  That way I know who earned the money and where it’s coming from.  That way I know if it was a gift (we had a few Christmas gifts that we didn’t get until after the new year), bonus from work or a side job income.  Sometimes J helps around the office and the office manager pays him for his time.

extra income journal, income tracker

At the bottom I created a row for the total amount for that month.  I figured if there’s a month that I run out of room then I can just flip that page over and keep counting.  It’s going to be really nice at the end of the year to see how much extra money we actually made and how we made it.

You could probably write create a page in Excel or Word, but I like the act of writing out the amount.  It makes it more valid for me.  It’s the same idea of crossing items off the to-do list.  It’s done, it’s mine and there’s no taking it back.

extra income journal, income tracker

Do you keep track of your extra income each month?  How do you track it?


I’m linking up this week:

Grace and Good Eats

DIY Christmas Photo Ornament

DIY Christmas photo ornament how to

Every year the cousins exchange an inexpensive gift between each other.  This year is only our 2nd year for doing it, but it’s quickly becoming one of my favorite traditions.  The first year my gifts were okay, but not stellar.  I vowed to work hard this year and come up with a better stocking stuffer.  I came across a few ideas for a Christmas photo ornament on Pinterest and thought to myself that it was perfect.  I schemed with my mom to find a picture of my grandparents and then I scoured everyone’s facebook pages to find pictures.

I decided to do the picture of our grandparents for all the cousins and then personal pictures for their families.  As we all get older, get married and are starting to have families of our own the cousin gift exchange is getting bigger and bigger.  I have 5 cousins, 3 spouses and 2 kids to think about.  I wanted each one to mean something and be personal.  The ornaments were super easy to make once I had the perfect pictures.

Here’s what you need for the perfect DIY Christmas photo ornament:
clay or wooden ornaments (I found clay ones at Hobby Lobby for $1.47 and they were 50% off that week so they were only .73 cents each!)
mod podge
paint brush
scissors
pen
pictures

DIY Christmas photo ornament how to

First you want to trace the ornament on top of the picture to get the right size.  I would recommend tracing on the back side of the picture so you don’t accidentally get any pen marks on the image.  Then cut out the picture.

Second, dip your paint brush in the mod podge and paint over the ornament.  Make sure you pay attention to the edges.  Then place the picture on top.

DIY Christmas photo ornament how to

Finally, paint a second coat of mod podge on top of the picture to seal it.  Let it dry overnight.

DIY Christmas photo ornament how to

That’s it.  Simple, isn’t it?  I love the idea of giving something meaningful.  I even made one of J and I’s recent family picture to each grandma and my parents, too.

DIY Christmas photo ornament how to


Our 2014 Christmas Card

I took a different approach this year on our Christmas card.

I went a bit more personal.  Some years I send just a card with our signatures, others a letter about what we’ve been up to that year, and some years it’s just a picture of the dogs.  But this year I went a different route.  I combined everything I wanted in a card and created a masterpiece.  It’s simple, it has color, it has details, and it even has a family picture.  I mean what else could you want from a holiday card?!?  Seriously!
2014 christmas card

I designed them in Canva and then put 4 per page in Word.  Sent them to my local printer and had them printed on cardstock.  Easy-peasy!

They were the size of postcards when done and so pretty.  Now grandparents can get an updated family pictures, cousins and friends know what we’ve been up and it shows a little of our personality.

Here is the final image.


Family Christmas Cardcard

DIY Photo Table Runner / Day 3 of Feel Good Blogging Challenge

Sharing a tutorial that adds value to my readers kind of freaks me out a little.  I’m not going to lie.  I have written tutorials in the past and I love each one I’ve done.  But being asked to write one today, without warning is a little scary.

DIY PHOTO TABLE RUNNER
I’m going to share how to create a fabulous photo table runner using muslin, pictures, sheet music and paper doilies.  You see, I hosted my sister’s bridal shower in my backyard a few weeks ago.  I went all Pinterest crazy on it and create a lot of neat, personal touches for her.  She is the only sister I have and her wedding is a pretty big deal.

I found a few different versions of a personalized photo banner and decided to combine them for this event.  My sister’s favorite song is Somewhere Over the Rainbow.  Our Mom used to sing it to her before bed when she was a little girl.  I had several copies of it printed, pictures printed and purchased some paper doilies on sale at Hobby Lobby.

I asked my Mom to come over the night before so we could get it started.  I had purchased some muslin from Hobby Lobby (with a coupon – my sister would be proud!).  I had an 8 foot table and the table was 30” high.  I wanted it to hang pretty far off the table to where it was actually draping the ground.

bridal shower decor
What you need for this DIY photo table runner
:

4 ½ yards of fabric in about a 5” wide strip (if you don’t want yours to be as long as mine then you can take off some length).
50-70 pictures, all different sizes
15 pages of sheet music
15-20 paper doilies, all different sizes
hot glue gun\

Here’s how you do it:

Lay out your fabric on a table.  Start gluing your pictures, sheet music and doilies randomly.  Keep in mind the direction of the pictures.  More than likely the runner will be in the middle of the table with people sitting on both sides.  You want to try to get the pictures to be facing the correct direction so someone or words aren’t upside down.  Keep gluing until you have all of the muslin covered.  I went over the runner one more time gluing smaller pictures and doilies to add more of an interest.

DIY table runner
It’s a pretty simple DIY project that really adds some personal touches to the table.  I think overall I spent about $35 on the entire project.  I ordered the prints from Walmart.com with a coupon and had them shipped to my home for an even cheaper cost.  I would recommend doing that if you have several weeks before the party.

Setting A Few Home Goals

home goalsJ and I have been in our rental home for about 7 months now.  We signed a pretty long lease, so we still have one year and two months left here.  We aren’t crazy about where we live.  The neighborhood is great and it’s close to highways, but it’s just not the ideal home.  Our yard isn’t fenced in and with 2 dogs it isn’t very fun letting them out.  The walls are stark white and haven’t been painted in a while by the looks of it.  Plus there are like a million stairs, but that’s actually a good thing for us.

I am no longer going to focus on the not-so-great parts of where we live.  I’m setting some goals to work towards the next few months so our final year feels more like home.

Here go – the expectations.

1) design a gallery wall about the couch
2) hang fabric on the wall behind the TV and create a letter “R” gallery wall
3) stain the coffee table and side table
4) paint the DVD stand
5) create a calming desk space
6) rearrange furniture in the guest room
7) slipcovers for the couch and futon

Simple DIY projects. I’m pretty excited and have been planning what I want it to look like.  Now just to pick one project and do it.

I’m thinking the one that will make the most difference…. I’m going to pick out some fabric and hang it on the wall behind the TV.  Let’s do this thing!

The Perfect Gallery Wall

tips for creating a gallery wall

I love a good gallery wall, they are eclectic and a good way to express my personality. Which obviously consists of a whole lot of mis-match items that when combined create something beautiful.

Now that we are FINALLY in our new place and most of the boxes are unpacked, it was time to hang some pictures.  I promised J that I would keep his beloved fish that was caught by grandpa and passed down the family.  I needed items that can balance out the fish and make it look like it belongs on the wall.  Not like I just stuck it in the corner, behind a door to say that I was good partner because it was on a wall.

create a gallery wall Here are some tips for creating a gallery wall that is perfect:

1) find pictures that are unlike each other – either having different frame types, coloring, or are pictures of landscape, sculptures, and people.
2) lay your arrangement on the floor.  Play with it and make sure you love it.  It took me awhile to get it just right.  A lot of frames came in and out of this arrangement.
gallery wall tips3) get someone’s opinion.  I asked J what he thought before  putting one nail into the wall.  Not that he actually cared what it looks like, but it was nice to have that affirmation.
4) start nailing it! We measured out the wall space to find the middle, then measured out the arrangement to find the midpoint.  Match those two up and start hanging.
5) stand in awe of your awesome gallery wall.

creating a gallery wall

Cheers!

Follow on Bloglovin

Homemade Oatmeal Bath for dogs

homemade oatmeal bath

A homemade oatmeal bath for dogs can soothe itchy, dry skin from allergies.

homemade oatmeal bath

My poor pup, Maggie has been suffering from itchy skin for way too long.  I even resorted to covering her skin with an old Halloween t-shirt so that she couldn’t scratch.  How embarrassing for her!  I could just imagine her at the dog park with another dog giving her a funny look like, “girl, don’t you know it ain’t halloween?” and then Maggie sheepishly going, “ya, my mom hates me for some reason.”   Then all the other dogs would gather around her laughing.. I’m picturing Rudolph not being picked for any reindeer games here.  Ya, I don’t know why I’m on a holiday theme today.

Anyway… That wasn’t going to happen.  No dog was going to make fun of my Maggie!

I did research and found a homemade oatmeal bath that I could use the oats I bought for the Healthy Breakfast Bar Recipe.  So to me that was win-win.  I didn’t have to go buy anything.

homemade oatmeal bath

All you need is 1 cup of oats (quick or regular) blended in a food processor or blender.  Mix the oat powder in a luke warm bath.

homemade oatmeal bath

I took a plastic cup and poured the mixture over Maggie for about 10-12 minutes.

That’s it.  No rinsing.  A simple homemade oatmeal bath.

I noticed an immediate difference; however, she was amazed by her smell for awhile.  Maybe it was too close to food… I don’t know.  Overall it worked and that’s all that matters.

Oh and just a fair warning this homemade oatmeal bath is a pain to clean up out of the tub if you don’t process the oats to a fine enough powder.  Don’t say I didn’t warn ya!

Need another use for the large oatmeal that you bought?  I adapted a great, super easy recipe for an oatmeal breakfast bar.

Cheers!

Follow on Bloglovin

DIY Repellent Spray for Flies

How would you like a DIY repellent spray for your outdoor space?

J and I are determined to use our backyard to the fullest this summer.  We love that it is fenced in, the patio is covered, and we especially love our new patio set.  That’s the icing on the cake!

Last week I talked about repelling flies in our backyard here. J and I have worked on another home DIY treatment to rid our backyard of flies.  A repellent spray for our patio furniture was what we were looking for.

Ingredients:

1) Pine-sol
2) Water
3) White Vinegar

In a spray bottle you want to mix 1 part Vinegar with 2 parts Pine-sol and 2 parts Water.  Spray this mixture onto the patio furniture.  I could instantly see how this spray was working.  And I liked it!

DIY Repellent Spray for Flies

Then I got a little carried away … I started spraying the siding of our house.  It worked!  One downfall of using this spray is the smell.  It can be a bit overwhelming.  Mainly smells like pine-sol, but that’s not a smell that I want lingering around for a long time.

But overall I love, love, love this repellent spray!  I’m thinking that I will keep a bottle mixed and ready to go.

What products do you use around your home to repel flies?

Cheers!

[hupso]