Category: Recipe

Buffalo Chicken Manicotti Recipe

stuffed chicken manicotti recipe

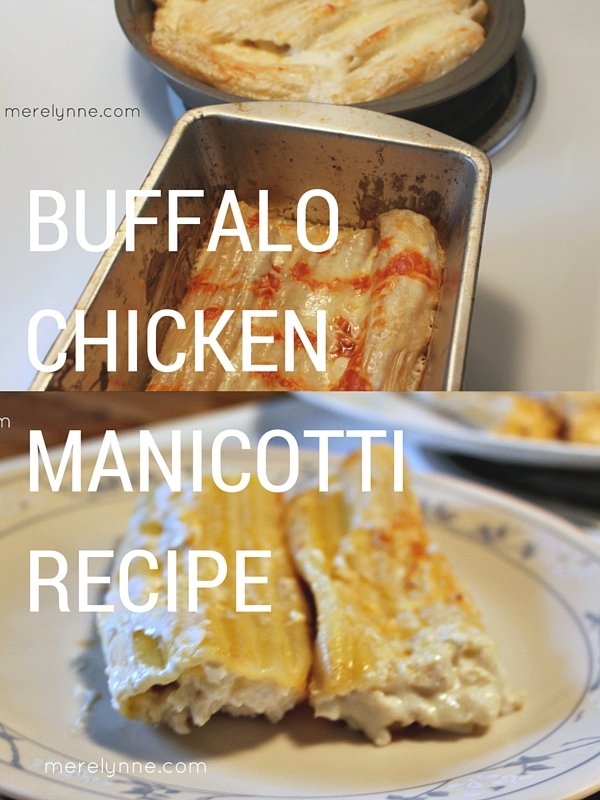
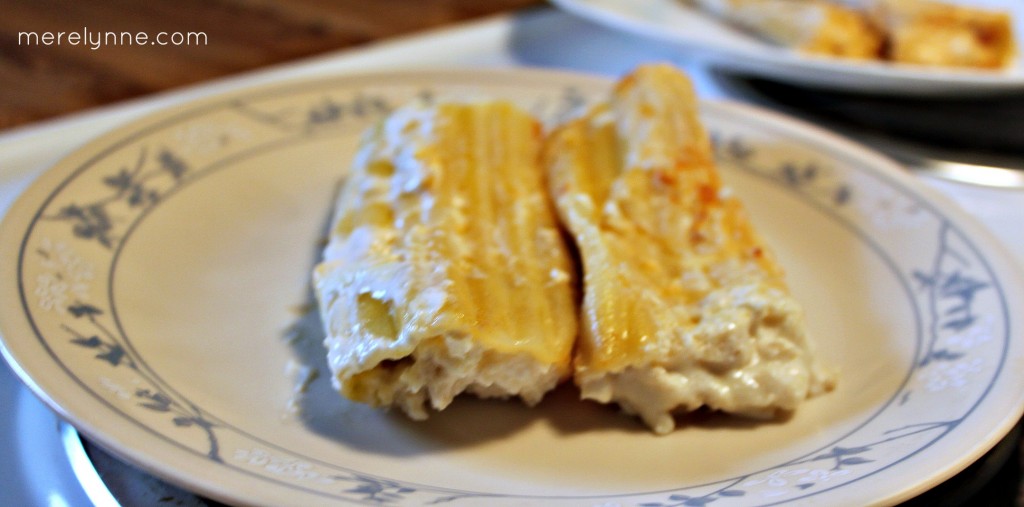
O.M.G. This Buffalo Chicken Manicotti has to be one of J and mine favorite meal.

It’s sooo good.  I mean, seriously, it’s that good.  I love pasta and J doesn’t so for me to get my pasta fix I usually have to find a way to add some kick to it.  Then he’ll be happy.

I made a buffalo chicken lasagna roll-up not too long ago and it’s a very similar recipe, just different noodle.  I have to get creative to get pasta!  I’ll have to share that one with you at some point.  I used Simply Gloria’s recipe as a starting point and made my own tweaks to it.  I am not a big fan of having to purchase a ton of ingredients or having to spend too much time in the kitchen.  I actually made the recipe just as Gloria does and it’s delicious.  But this time around, I took a few shortcuts.  It was still just as good and J couldn’t tell the difference.

I am not a big fan of anything spicy, so I usually start out making a normal dish then divide it in 2.  I add buffalo sauce to J’s portion and keep mine as is.  They are both delicious – well J thinks the buffalo chicken manicotti is amazing and I think my regular chicken manicotti is to die for.  So at the end we’re both happy – he gets a kick and I get my carbs!

The other night I went to make some buffalo chicken lasagna, but I of course did not have the right pasta noodles.  I did, however, have some manicotti shells leftover from another dish.  So I had my bright light bulb moment and this recipe was born.

buffalo chicken manicotti

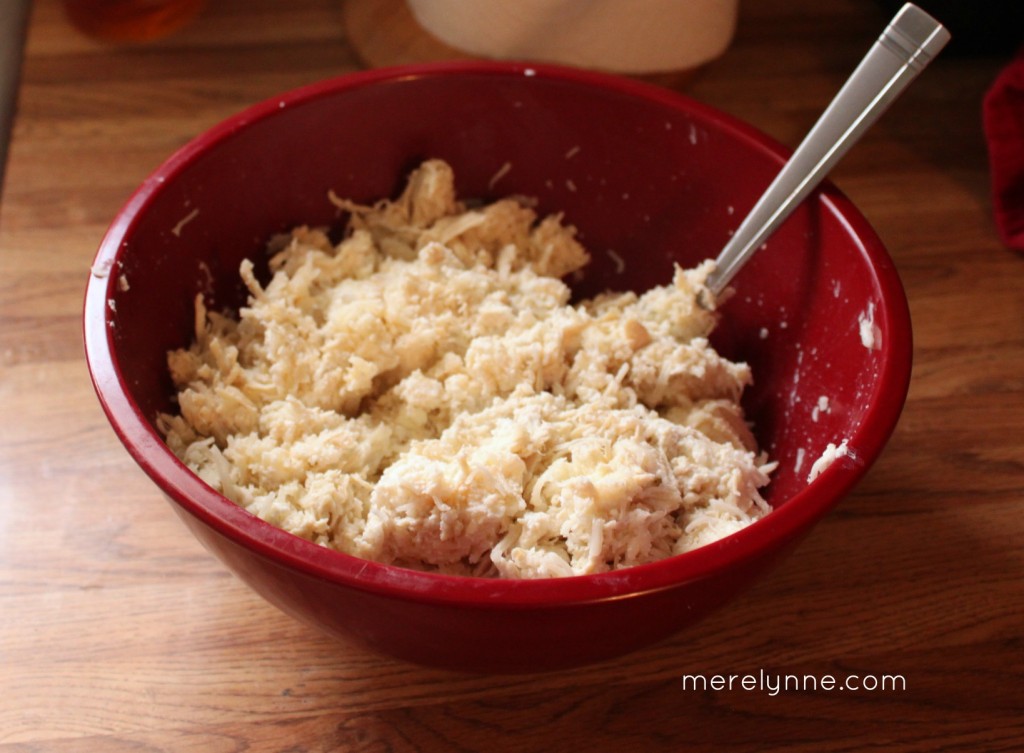
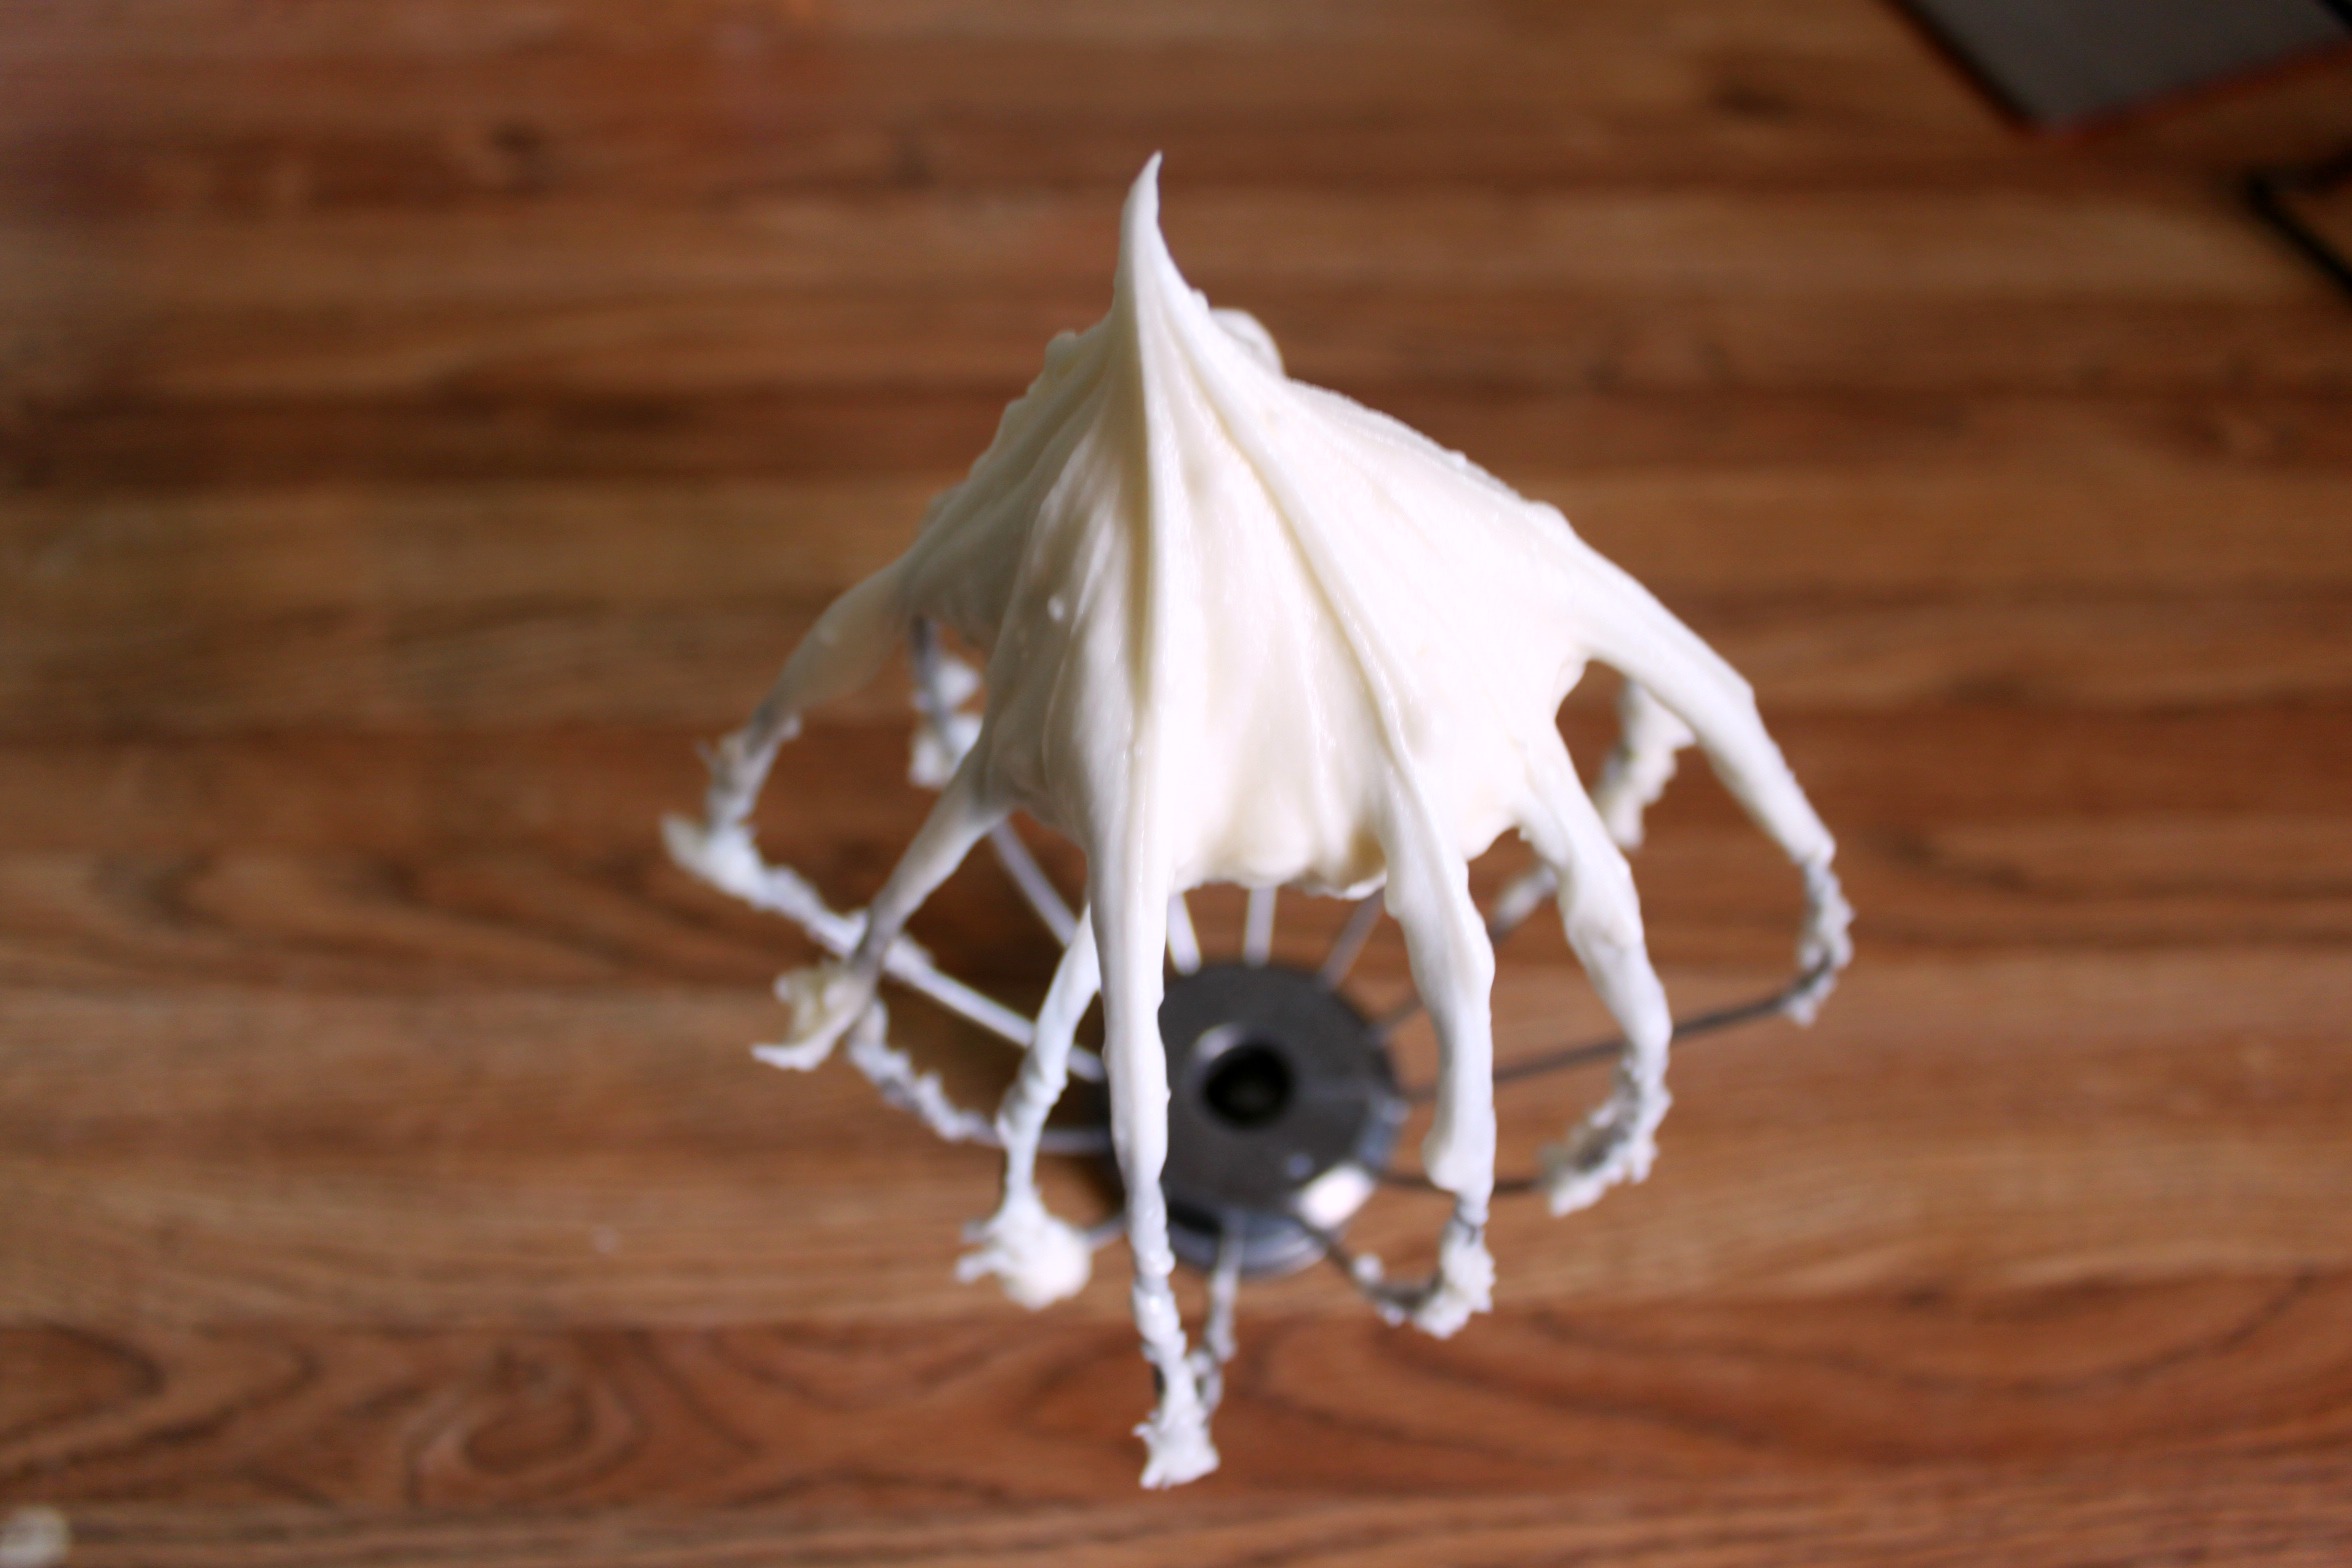
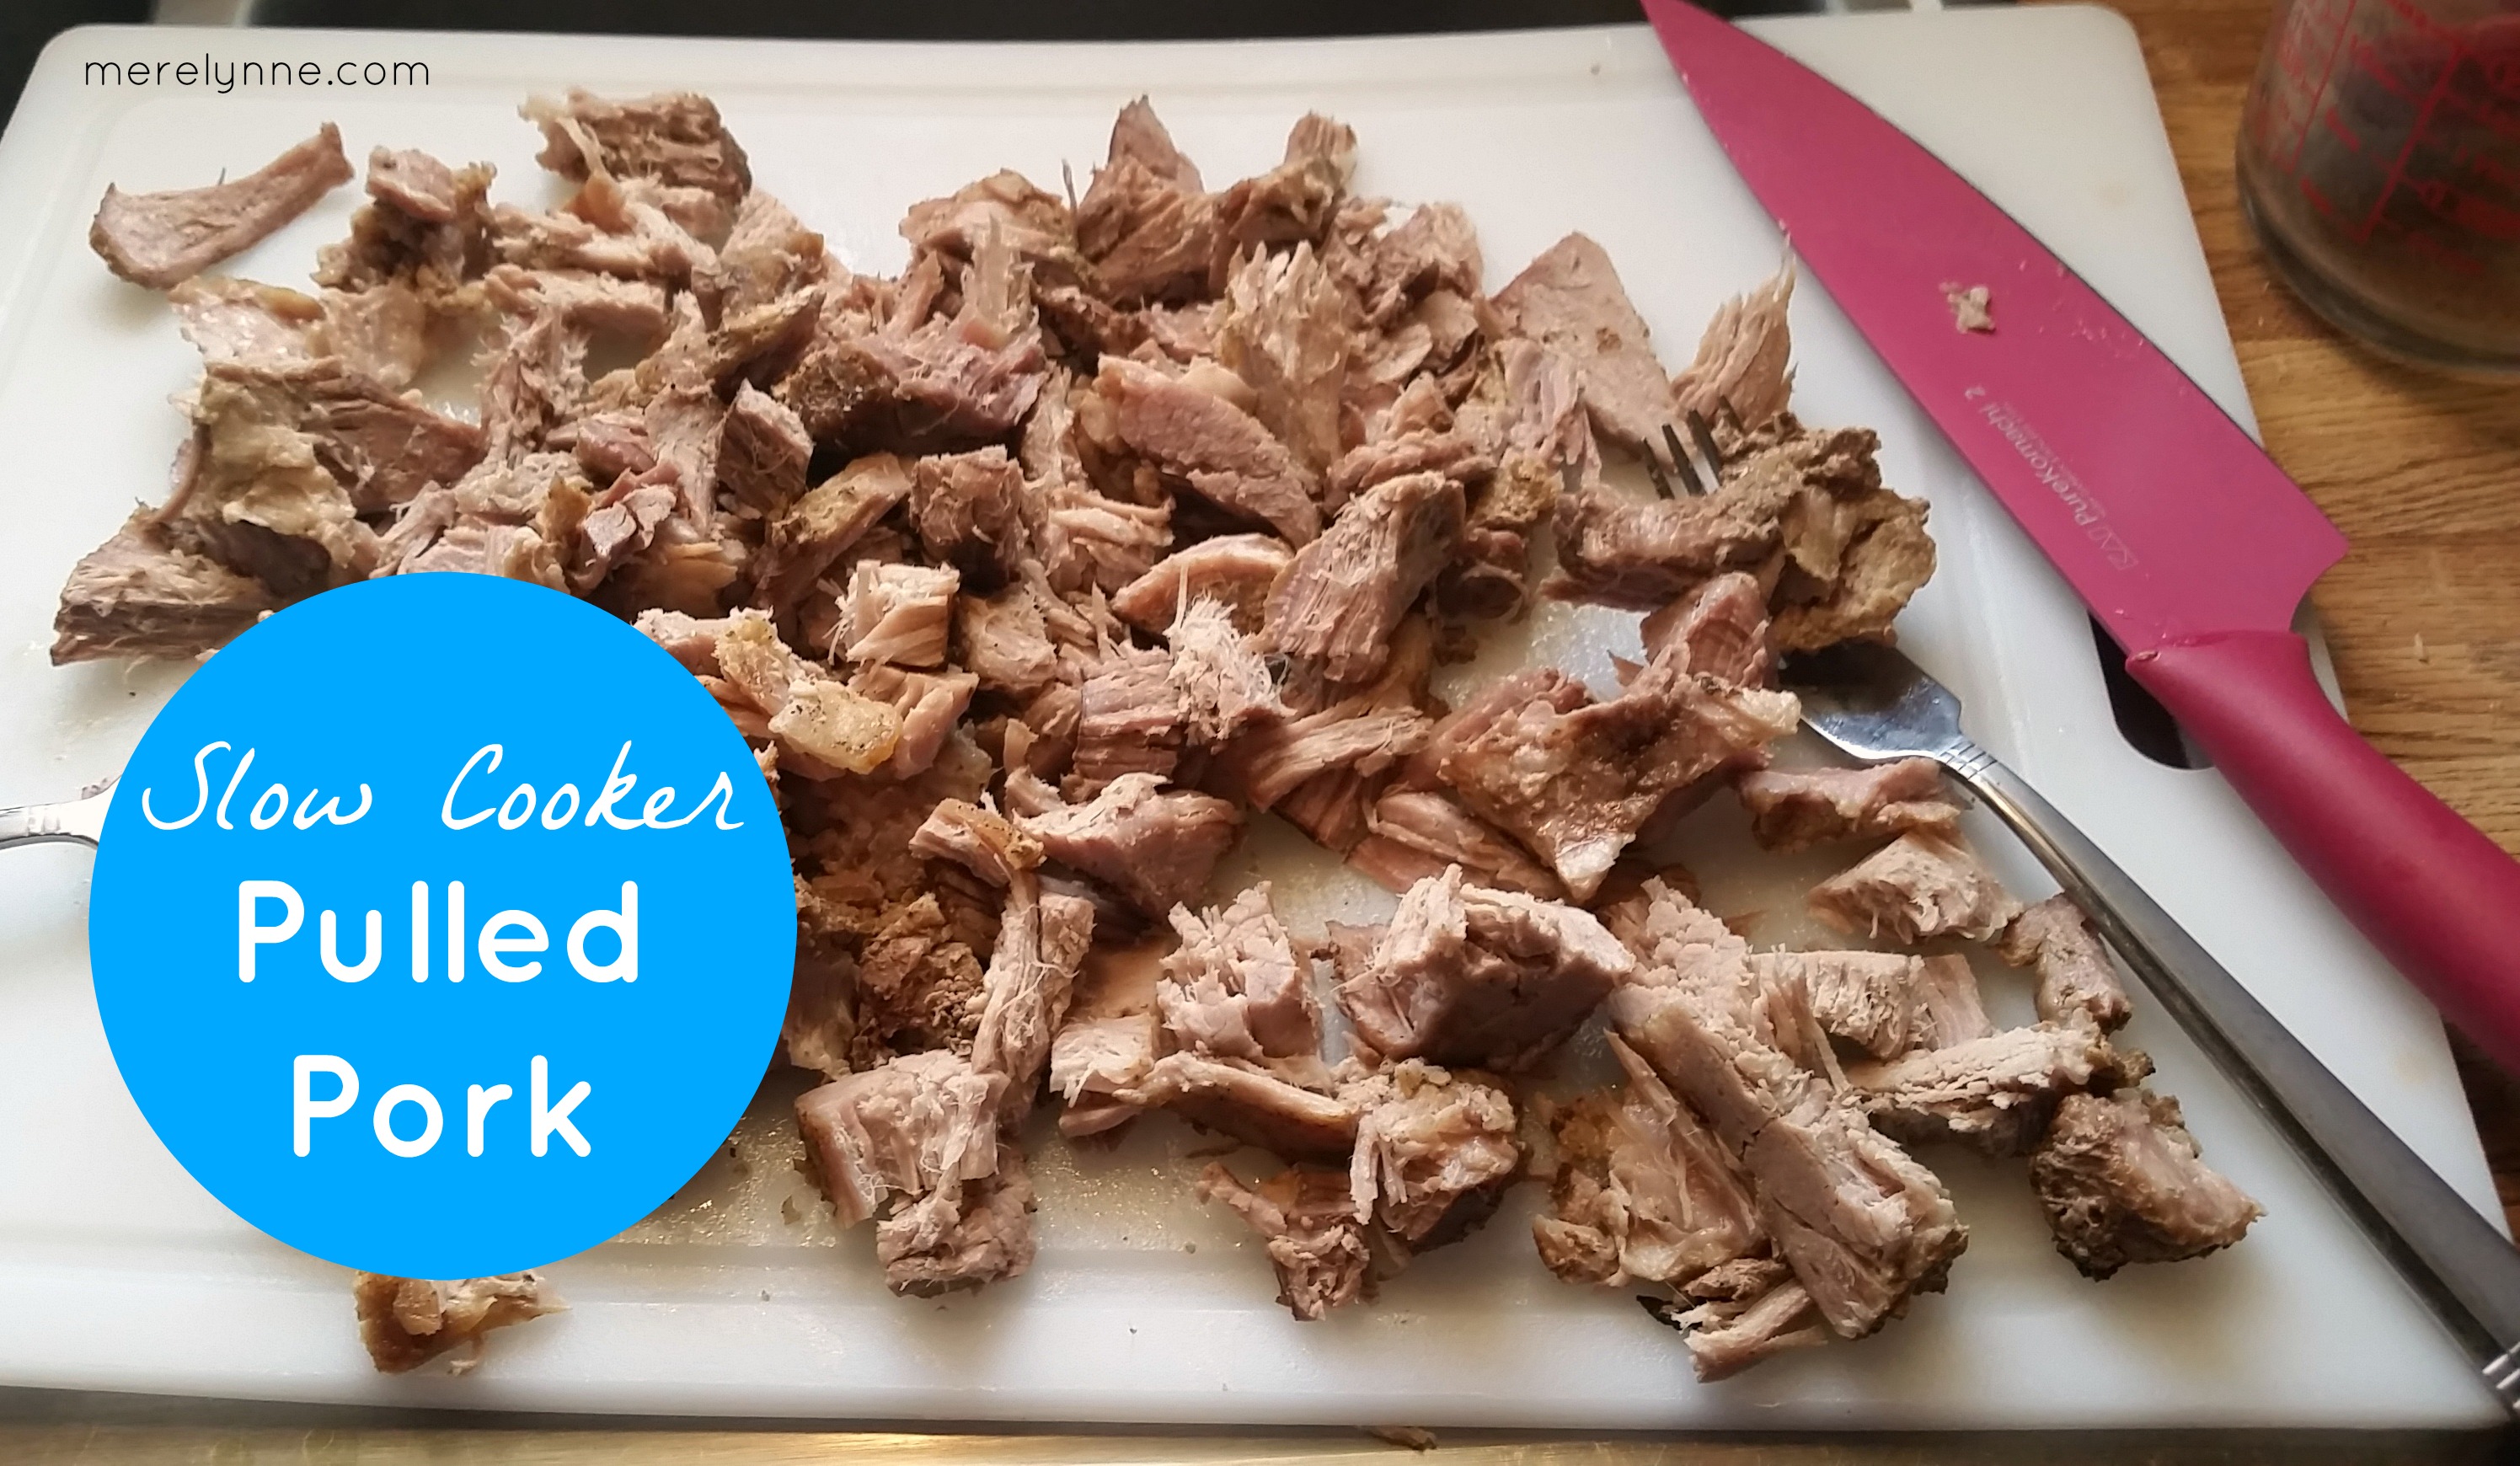
I start by poaching chicken and then shredding it using my KitchenAid mixer with the paddle attachment.  It’s so much easier and faster then trying to shred by hand using two forks.  I usually end up giving up after a few seconds and burn my hands to use my fingers.  So this way, I don’t burn myself and don’t have to have a lot of patience to get the job done.

I purchased jar Alfredo sauce (gasp! I know).  It was a lot easier and quicker to use then having to mess with making my own cream sauce.  I just heated the sauce on the stove and added in a bit more of pepper to taste.

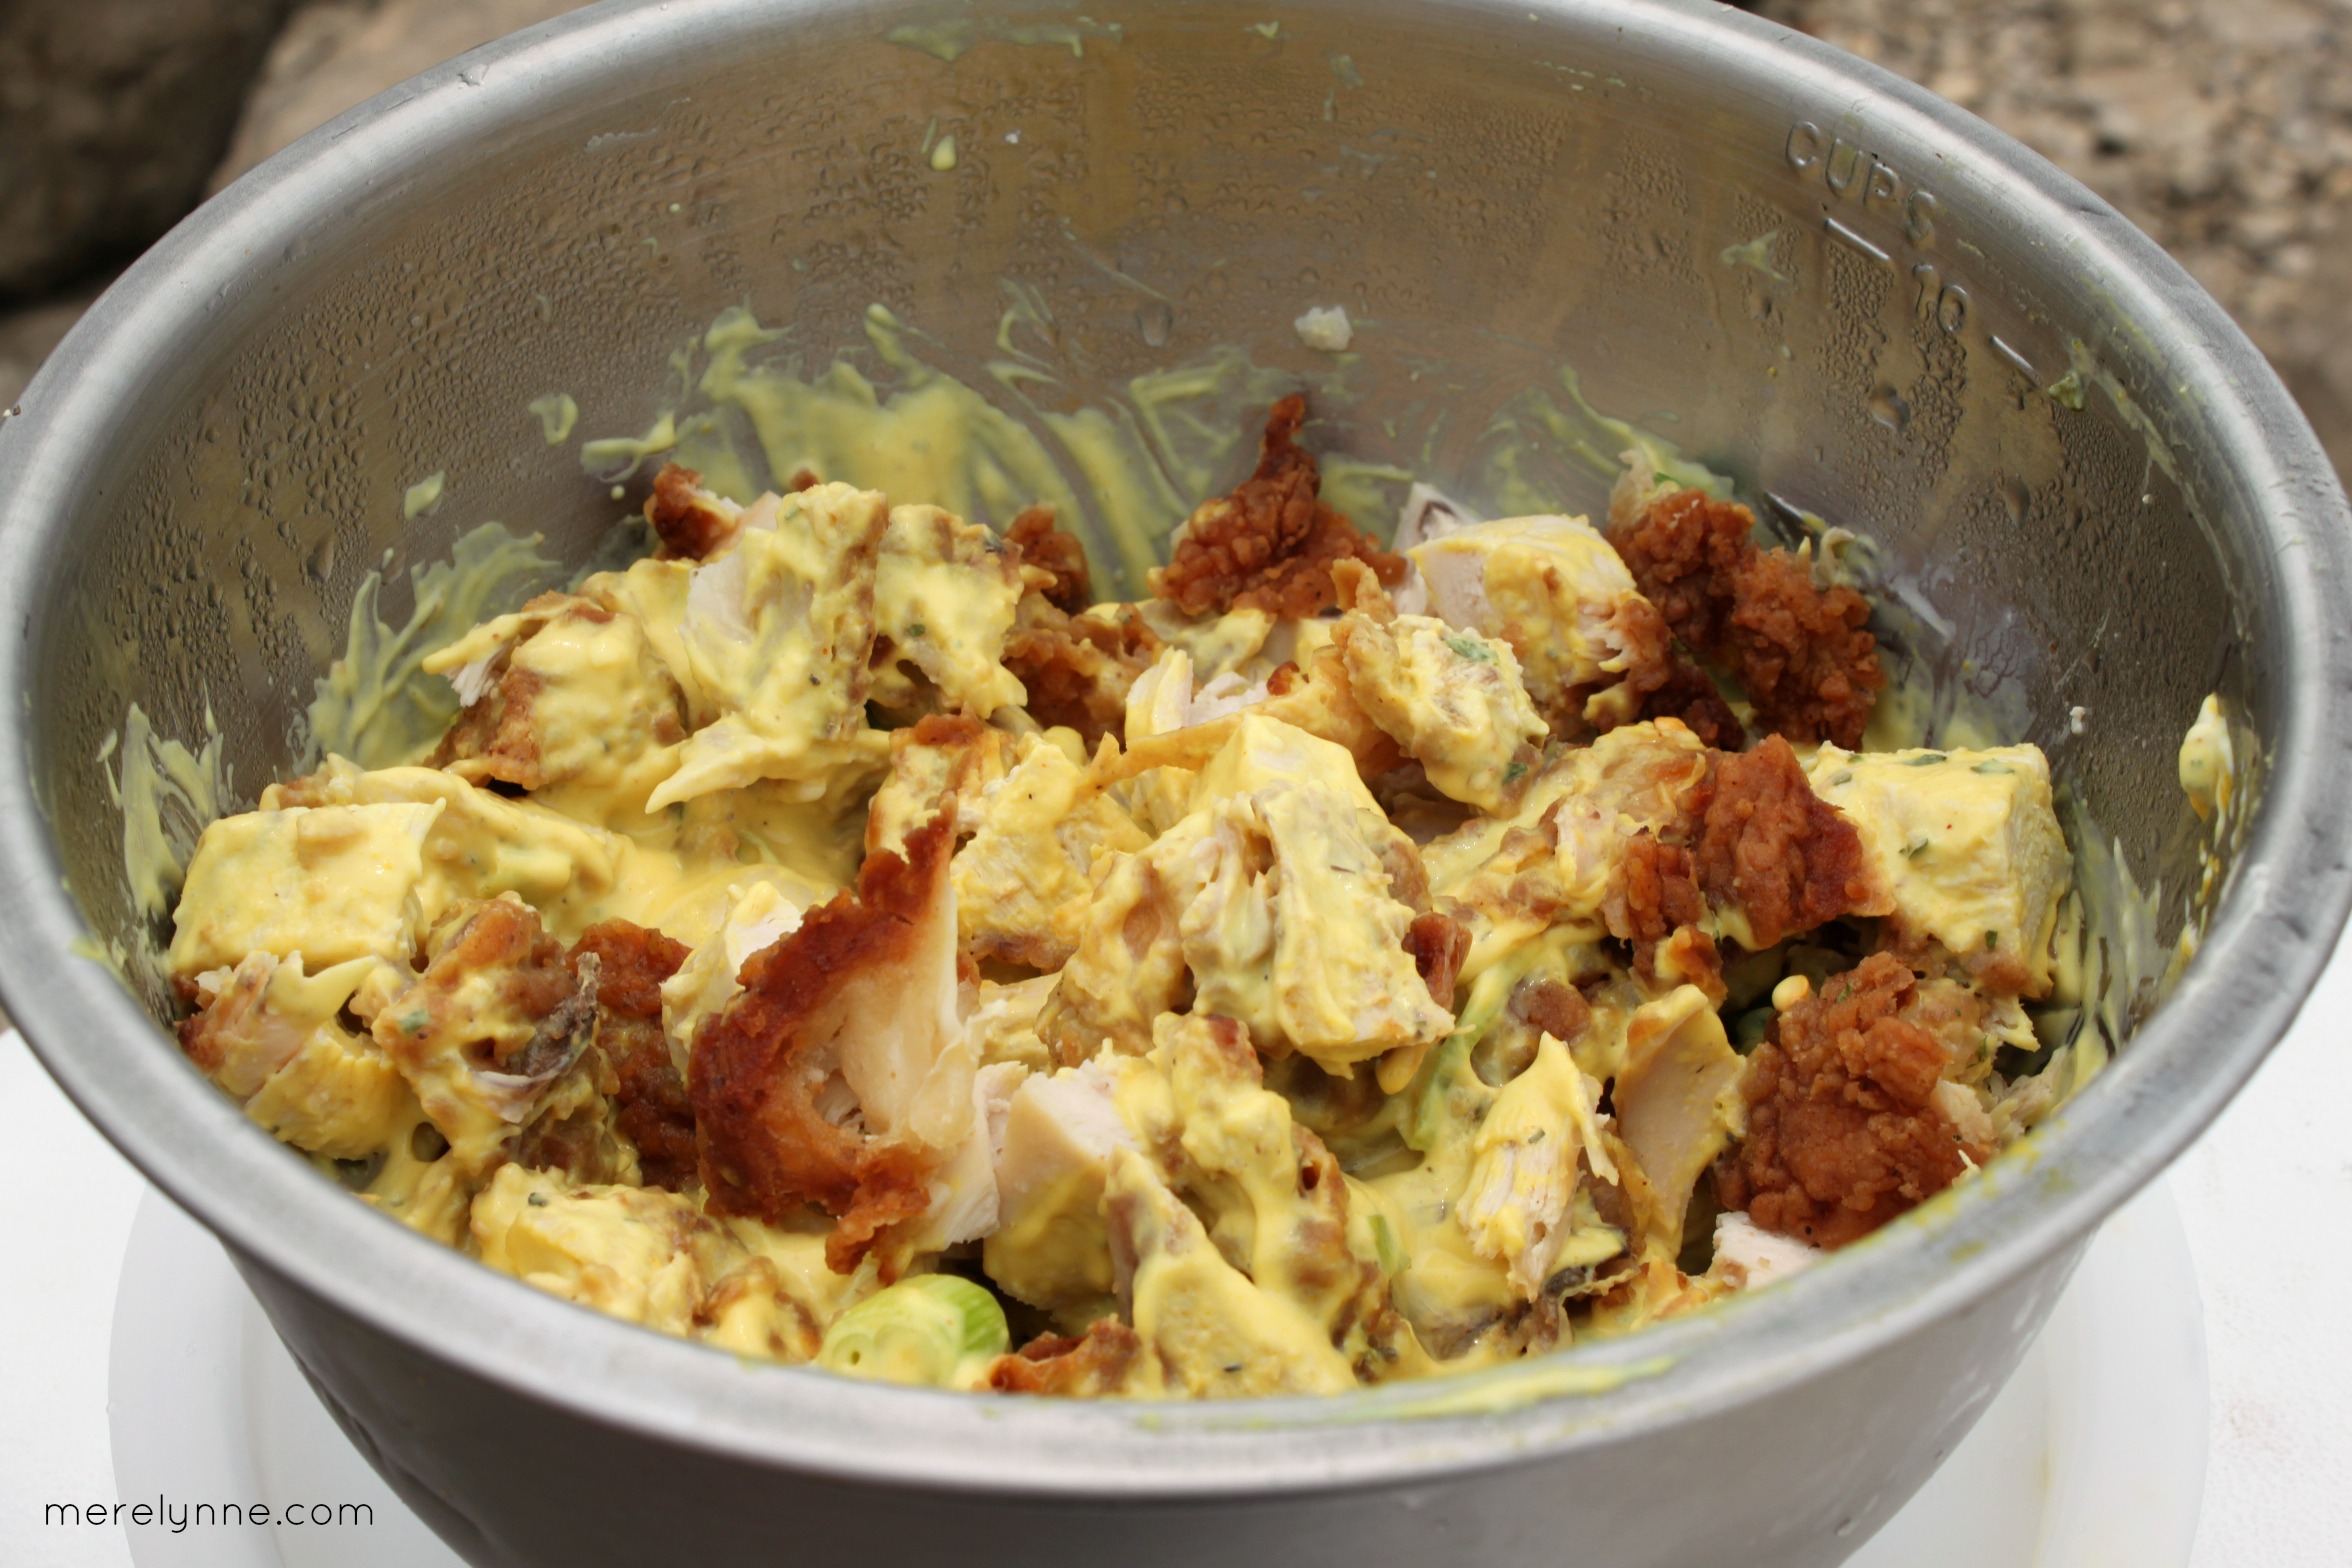
Combine the shredded chicken, cream cheese, and mozzarella.  Once it’s mixed well divide the mixture into two.

buffalo chicken manicotti

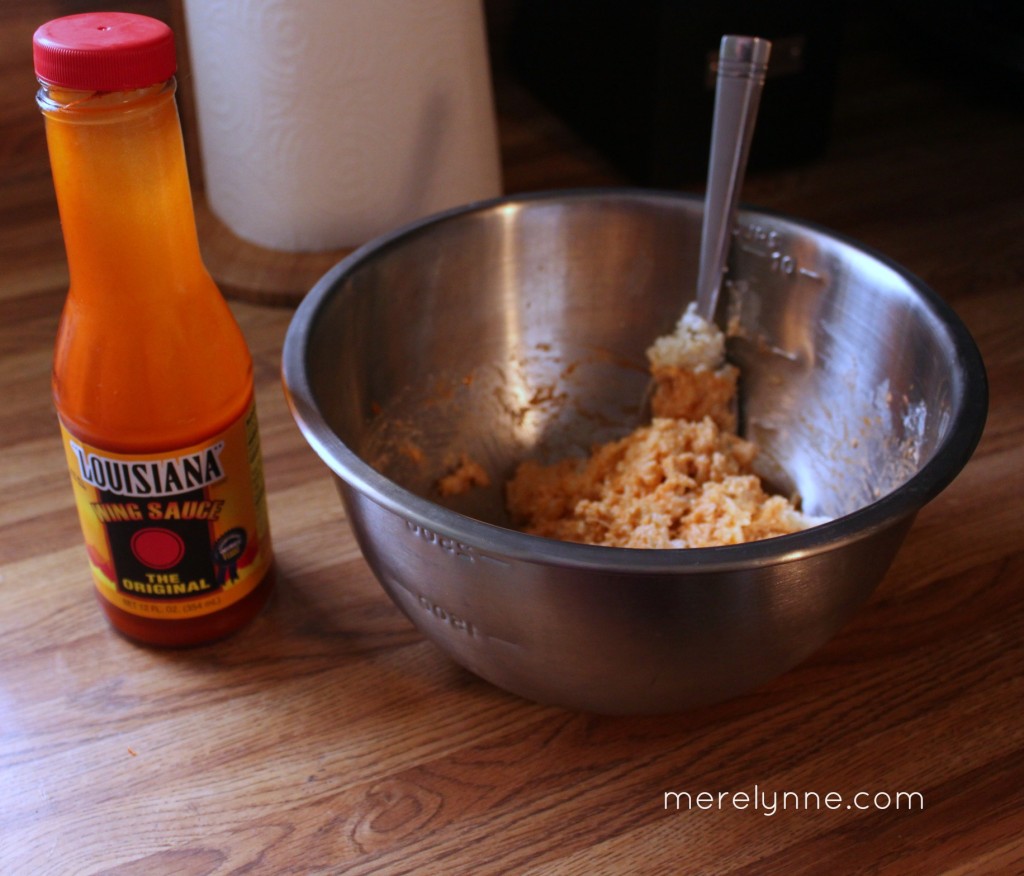
In the second bowl add the buffalo sauce and stir well.  If you want the whole recipe to have buffalo sauce then go ahead and keep it all in one bowl.

Cook the manicotti noodles for about 5 minutes because it will finish cooking in the oven.  Drain and set on paper towels to remove any excess water.
buffalo chicken manicotti

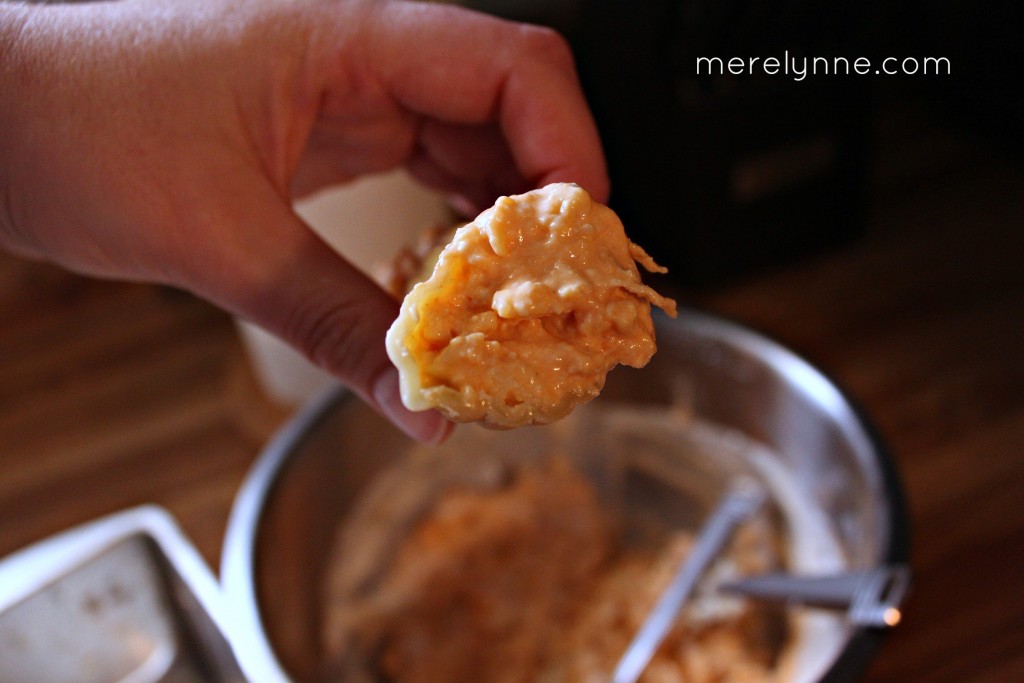
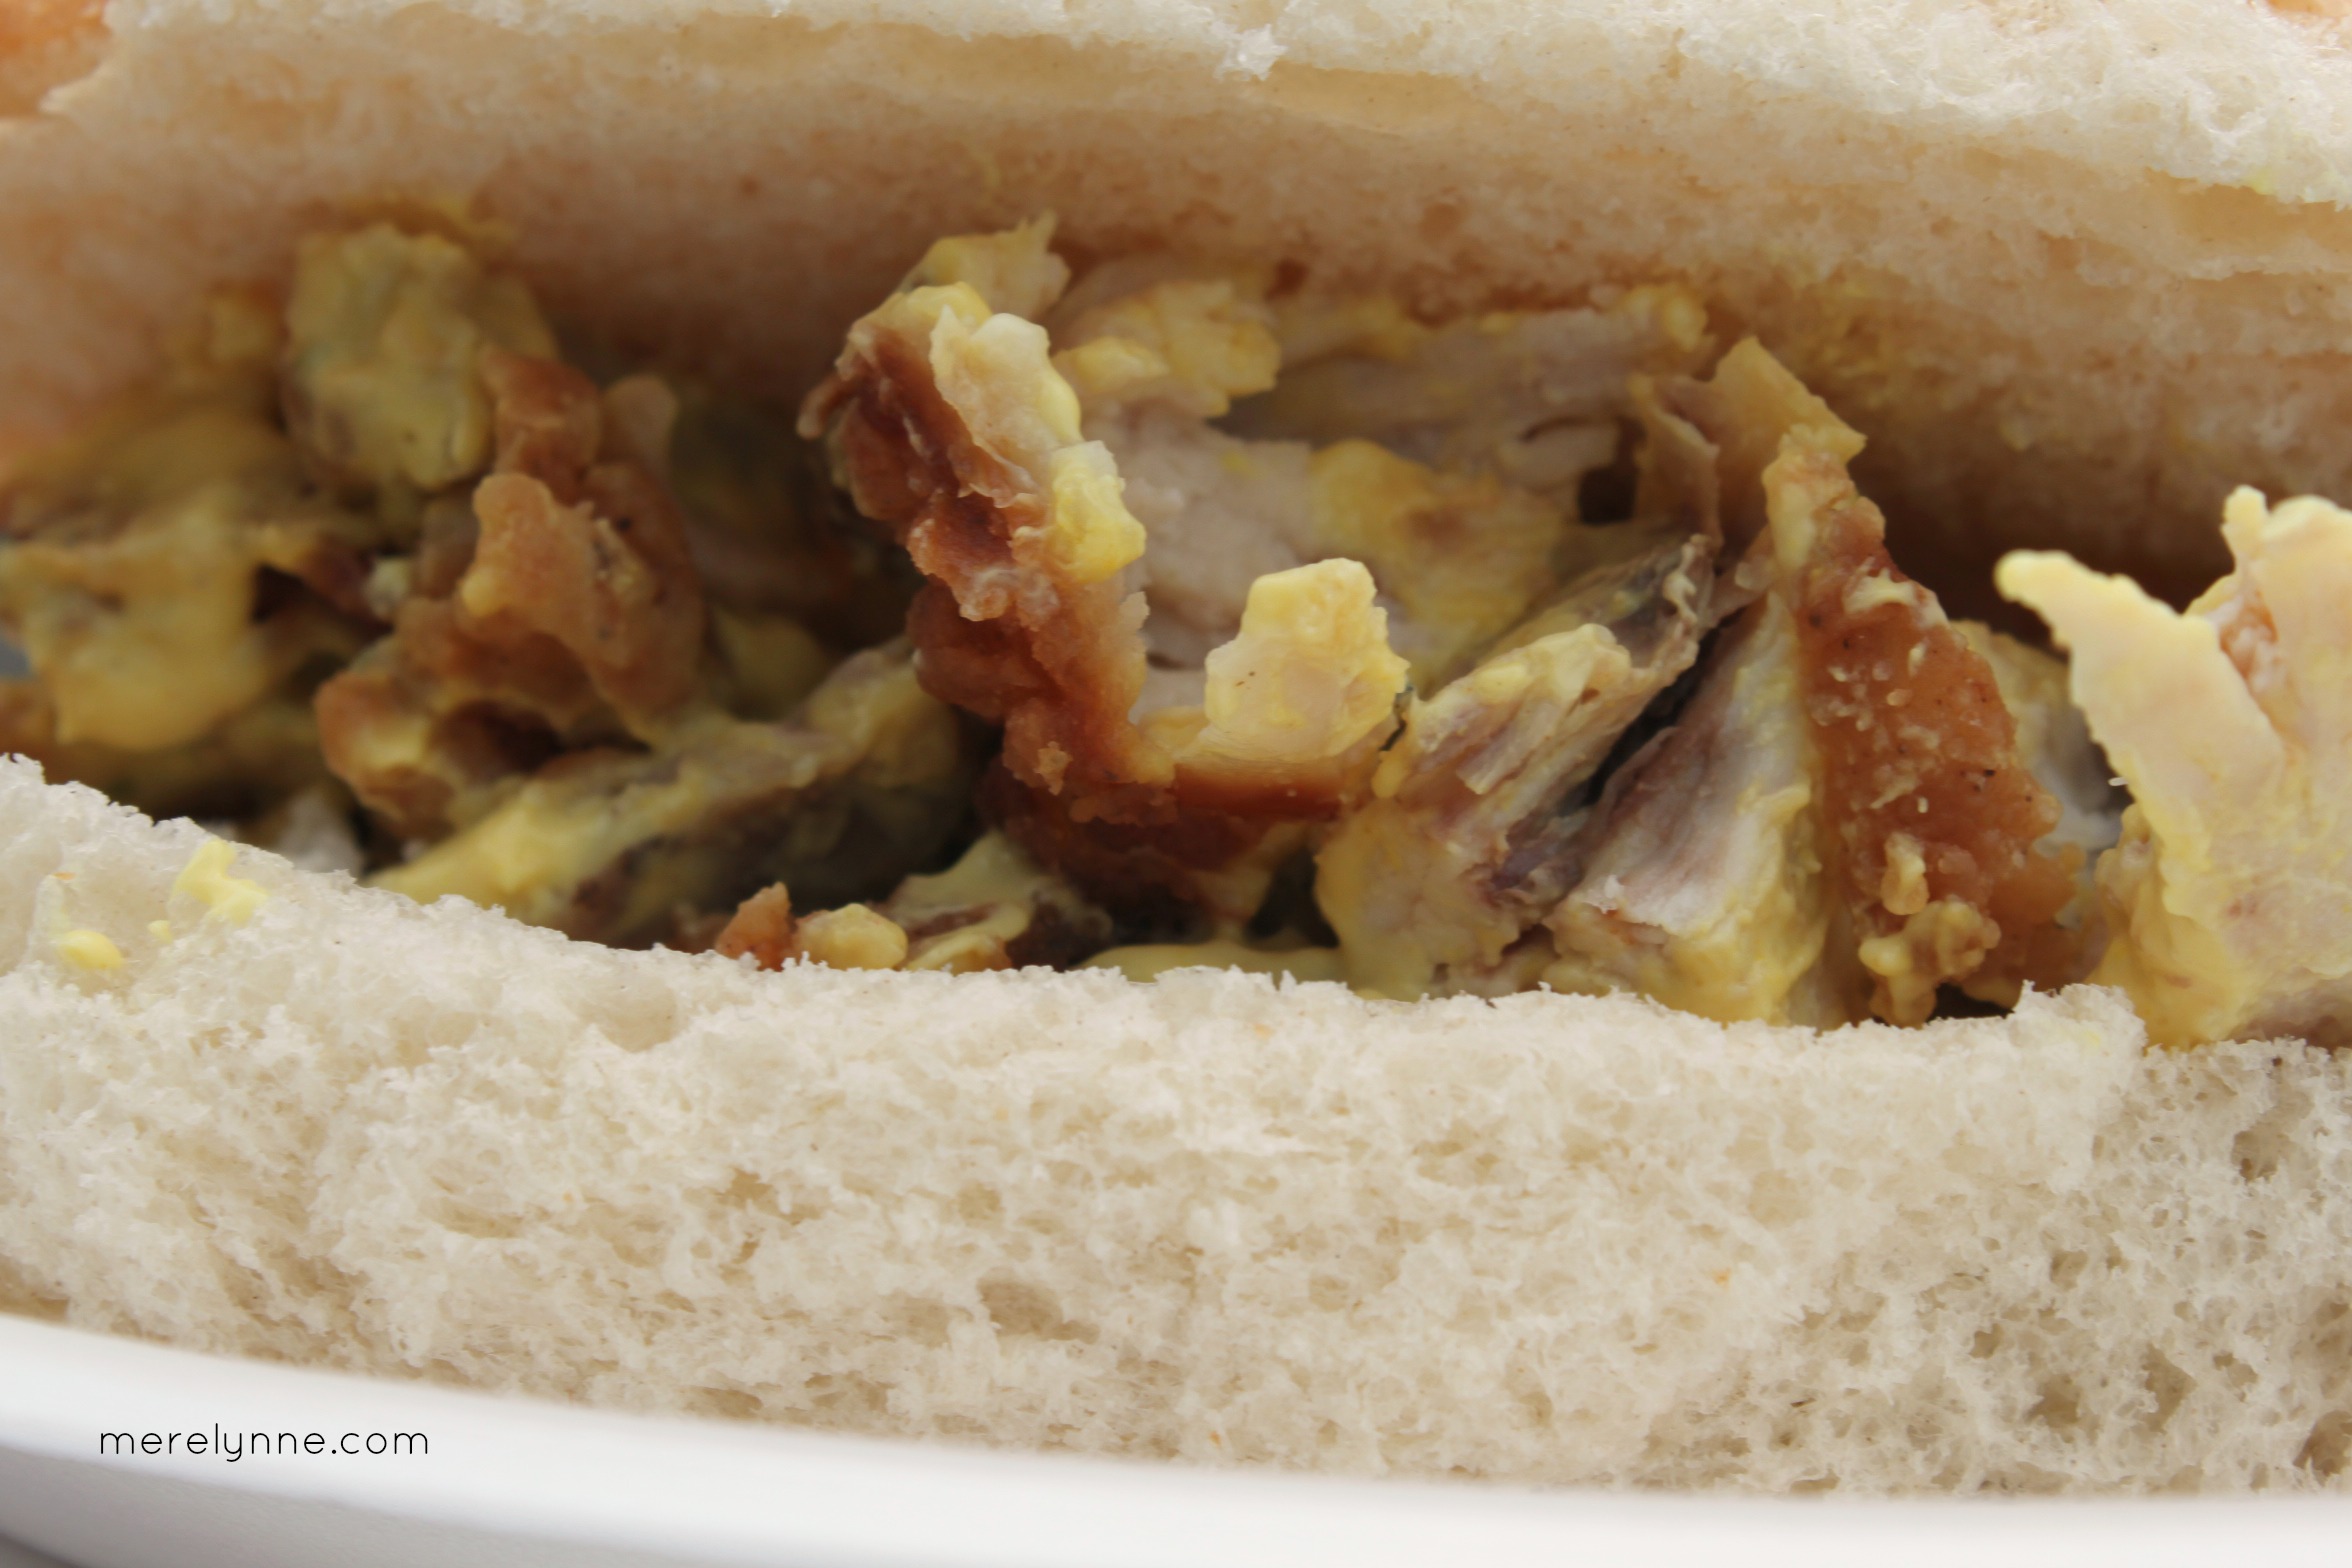
This is the fun part!  A little messy, but so fun!  You want to take a spoonful of the chicken mixture and start stuffing into the manicotti shells.  You want to make sure they are stuffed to the brim.  Any excess pasta showing on the inside will just harden in the oven.  Do this with both the regular chicken mixture and the buffalo chicken mixture.
buffalo chicken stuffed manicotti, pan

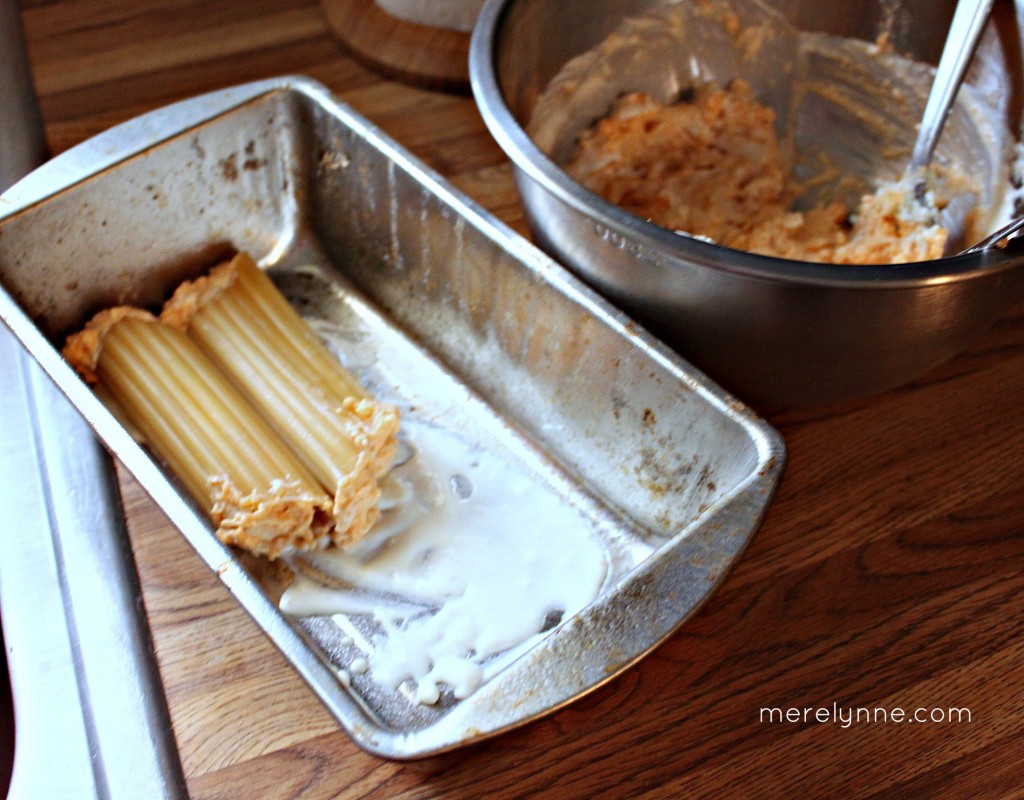
Take a little of the Alfredo sauce and cover the baking pan.  Lay the stuffed noodles in the pan.  Once they are all placed, take the remaining Alfredo sauce and cover the pasta noodles.  You want to make sure everything is nice and covered to prevent them from hardening in the oven.  Plus the liquid will help the noodles finish cooking while it’s baking.

buffalo chicken manicotti

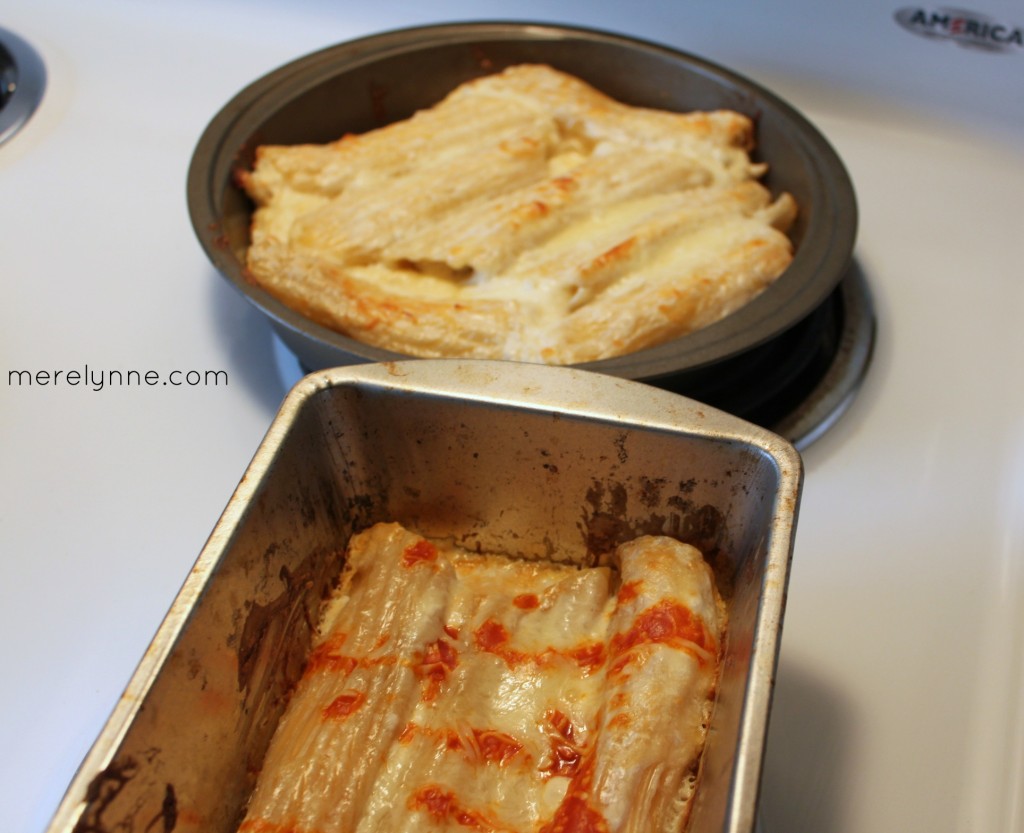
For the buffalo stuffed ones, I drizzle a little extra buffalo sauce on top before baking.  Bake for about 25-30 minutes at 350 degrees.

buffalo chicken manicotti

Ingredients for stuffed buffalo chicken manicotti:

12 manicotti noodles, cooked and drained
2 chicken breasts, poached and shredded
1/4 cup buffalo sauce (can add more or less to your taste)
1 jar of Alfredo Sauce
1/2 package (4 oz.) package cream cheese, divided
2 cups shredded mozzarella

Directions:

  1. Add manicotti pasta to large pot of boiling water, let cook for 5 minutes and then drain.  Place noodles on paper towels to remove any excess water.
  2. Heat Alfredo sauce on stove on medium heat.
  3. In large mixing bowl, add shredded chicken, cream cheese and mozzarella cheese.  Mix well
  4. Divide chicken mixture in half and place second half in another bowl.  Add buffalo sauce and mix well to combine.
  5. Put a spoonful of Alfredo sauce on bottom of baking pan and spread to cover.
  6. Stuff manicotti noodles with chicken mixture – half with buffalo chicken mixture and the other half with the regular chicken mixture.
  7. Spread remaining Alfredo sauce on top.
  8. Bake for 25-30 minutes at 350 degrees.

crockpot meatballs – only 3 ingredients

3 ingredient crockpot meatballs

For Christmas this year we spent it with J’s family in St. Louis.  We had a blast!  I might have mentioned this before, but luckily my family and J’s family are both easy going.  So we switch holidays each year.  This year was Thanksgiving with mine and Christmas with his.  Next year, we’ll switch.  I love not having to drive across the state on Christmas morning.  It’ll make life so much easier when we have our little boy.

The weekend before Christmas is when we got together with my family.  My cousins came into town and we all headed over to my Grandma’s.  We had a huge, HUGE feast.  Everyone brought at least one dish to contribute, which made it a lot easier.  This year I brought my go-to meatballs.

Whenever we have a family gathering or a get-together with friends I always volunteer to bring meatballs.  I have two reasons for my go-to appetizer. First, they are always, always a hit!  Everyone loves them and they usually disappear within minutes.  Second, they are the easiest appetizer to make.

For Christmas with my family, I of course volunteered to bring meatballs.  I mean, why wouldn’t I bring the best dish there?!  I started them a few hours before we left for Grandma’s and didn’t even have to think about them once while they were cooking.  That’s my kind of dish.

crock pot meatballs, 3 ingredient meatballs

3 ingredient, crockpot meatballs:

1 – 2lb bag of frozen meatballs

1 – 18oz. bottle of BBQ sauce

1 – 18oz. jar of grape jelly

Place all ingredients in the crockpot, stir well to mix and then cover.  Cook on high for 3 hours then switch to the ‘keep warm’ selection for serving.

Like I told you, these crockpot meatballs are the easiest dish to prepare and are a huge crowd pleaser.

I use the KitchenAid 6 quart slow cooker.  It makes cooking a breeze!  I set a timer for how long I want to cook the meatballs and then when time is up and automatically turns to the warm position so nothing overcooks and the meatballs don’t get cold.  It’s perfect.

Crockpot Chicken Fajitas Recipe

crockpot chicken fajitas

Mexican food is my favorite!  J’s too.  So I would be fibbing when I say that we have Mexican food at least 3 times a week.  EEK!  That sounds like a lot, but it’s just so easy to prepare, always a favorite and there are so many different ways you can mix it up.  We have enchiladas, burritos, tacos, fajitas, taco salads – you name it and we’ve probably had it in the past 2 weeks.

Plus, Mexican food is so error-proof that J helps me out with it a lot of nights.  He usually gets off of work about an hour before me, so he can go home and start dinner so that it’s mostly ready by the time I get off.

Have I told you how J and I are really like 80 year olds?  We eat dinner before 6 and are usually in bed by 8:30 each night.  Yep, we’re super fun!

On the nights I have a late meeting or J has a busy day I usually go to my handy-dandy crockpot for dinner.  These chicken fajitas are probably my favorite crockpot recipe right now.  Everytime I make these, they just keep getting better and better! Plus, it takes less than 5 minutes to prep everything in the morning before I run off to work and by the time we get home, dinner is served!
crockpot chicken fajitas
First, chop your onion.  I typically leave mine a little big since J isn’t a crazy onion fan like me.  That way if he wants to remove some then he can.  He still has the onion flavor, just not the hunks.

crockpot chicken fajitas

Next, chop your three bell peppers.  You can use all of one color, a mixture of colors, it’s up to you.  I usually go with what’s cheapest at the grocery store that week.  I’ve made them will all green bell peppers before and they were just as tasty!

crockpot chicken fajitas

Top the veggies with your chicken breasts.  This recipe is so easy going that you can use thawed or frozen chicken breasts.  Whatever you have on hand.  I’ve used both and the recipe always tastes the same.  Once the chicken is in place, sprinkle with your taco seasoning.  You can use store-bought kind (I usually reach for the low sodium kind) or you can make your own taco seasoning.  Check out my recipe for some really great taco seasoning here.

Place your lid on top, no need to stir or add water.  What??! No water?!?! Yep, that’s right!  Do NOT add water to your chicken mix.  Leave it alone.  There will be more than enough liquid from your onion and bell peppers to make this work.

Cook on low for 8 hours and then serve.  I love my KitchenAid slow cooker.  I can set the timer for 8 hours and then it will automatically switch from whatever temperature I have it on to warm until we get home.  That way our food doesn’t overcook or get cold.

ingredients for crockpot chicken fajitas:

1 onion
3 bell peppers
4 chicken breast
1 pack of taco seasoning (low sodium is my favorite)

Chop the onions and bell peppers.  Place in the crockpot.  Place chicken breasts on top and cover with taco seasoning.  Cook on low for 8 hours.  Remove chicken and shred*.  Place chicken back in the pepper and onion mixture, stir to combine.  Serve on tortillas or on top of a salad.

*I like to shred my chicken in my Kitchenaid mixer with the paddle attachment.  So much easier then doing it by hand with a fork!

crockpot chicken fajitas

Quick and Easy Apple Crisp Recipe {Single Serving}

quick and easy apple crisp

The other night I was seriously craving some apple crisp. I’ve been doing great with counting my macros, so I wanted something that would fit in and not derail my whole day. So I went online searching for a quick recipe…. and you know what I found? Nothing.

No simple, quick and easy apple crisp recipe existed. I took matters into my own hands. I found a few, beefed them up a bit and created my own.

My next issue was nothing was single serving. I just couldn’t catch a break! Don’t get me wrong, I would LOVE to have an entire apple crisp all for myself, but I didn’t NEED an entire apple crisp all to myself. That would just be silly.

So again, I took my new quick recipe and made into a single serving recipe. Now this apple crisp recipe is as easy as pie (pun intended!).

apple crisp recipe

Here’s what you need for this quick and easy apple crisp recipe:

1 apple, peel and diced (I used a Gala apple because that’s what I had laying around)
1/2 teaspoon ground cinnamon
1 1/2 teaspoon sugar
pinch of nutmeg
pinch of salt
2 Tablespoon brown sugar
2 Tablespoon oats (old fashioned or quick is fine)
2 1/2 Tablespoon all-purpose flour
2 teaspoon butter

Preheat your oven to 350 degrees. I used a toaster oven so I didn’t have to waste electricity on my big oven. Spray a ramekin with cooking spray and set aside.

Once your apples are diced, place in a medium-sized bowl. Add cinnamon, sugar, nutmeg and salt. Stir until it’s well combined. Pour the apple mixture into the prepared ramekin, set aside. In the same bowl (because who wants to dirty a bunch of dishes?) combine, brown sugar, oats and flour. Add the butter to the brown sugar mixture. Using a spoon or fork, cut the butter into the mixture until small chunks form.

Place the oat mixture on top of the apples. Bake for 20 minutes at 350.

quick and easy apple crisp

Enjoy!  It was tasty.  It seems like a lot because it really filled my ramekin up to the brim.  So it was a nice treat that didn’t completely undo my day.  If you are wanting to cut back on the carbs, you can leave off the brown sugar-oat topping.  It’s still tasty, but it doesn’t quite feel like the apple crisp I love.

easy apple crisp recipe

Nutrition Facts for the whole recipe: Calories 355 / Total Fat 4g / Carbs 81 g / Protein 3 g / Fiber 6 g

Buffalo Chicken Fries Recipe (RE-DO)

buffalo chicken fries

It’s been a pretty crazy week over here. I’ve been working long hours and we’ve just had a lot of stuff going on. I’ve been trying to find easy recipes to cook so we don’t have to spend all evening in the kitchen. If I get home and I’m exhausted then the chances of me cooking are pretty slim. So that means we end up going out to eat. It’s not healthy and usually not very cheap.

J and I have been trying hard to eat better and be more mindful about our spending.

At the beginning of this week we sat down and found a few easy go-to recipes for dinner. I’m not going to lie when I tell you that 2 of the recipes were for the slow cooker. That little gadget is like a gift. It’s easy to use – just put the ingredients in, set it to low and then walk away. Plus, my slow cooker bowl can go into the dishwasher (most, if not all of my kitchen items can go into the dishwasher! I’m just not a big fan of hand washing anything!).
As we were brainstorming recipes I remembered this buffalo chicken fries I had made. I pulled out my old recipe and decided to give it a green light. I even posted the recipe on here before, but it’s been close to a year ago since I made these buffalo chicken fries. I just can’t believe it! I mean, they were such a big hit with J and I actually thought they were pretty good, too. Did I forget all about them? I don’t know what made me think of them this week, but I’m sure glad I did. You can find my old recipe here, but I tweaked it a little this time around. And I have to pat myself on the back because these turned out even better than before.

Here’s my revised (and better) ingredient list for buffalo chicken fries:

6 oz. cooked chicken, shredded or cubed
1/3 cup buffalo sauce
2 potatoes, cut into slices (I used one russet and one sweet potato)
cooking spray
½ tsp. garlic powder
½ tsp. pepper
1 tsp. salt
½ cup shredded cheddar cheese
1 Tablespoon extra-virgin olive oil

Optional ingredients:
sour cream
feta cheese
chives
hot sauce

Set your oven to 450 degrees. Slice your potatoes into thin slices or wedges, place on a foil-lined baking pan that has been sprayed with cooking spray. The potatoes get pretty stuck to the foil, so I recommend spraying it down with cooking spray. That way cleanup is still a breeze! Make sure the potatoes lay flat and are not overlapping one another. Lightly spread the EVOO on top of the potatoes. You can use a pastry brush or sauce brush. Sprinkle on the garlic powder, salt and pepper. Place in oven for 15 minutes or until they start to turn golden brown and begin to get soft. Once the fries are done, remove from oven and turn the oven down to 350 degrees.

buffalo chicken fries - potatoes

Place the cooked chicken into a shallow bowl with the buffalo sauce. If you want a little more heat you can add a few drops of hot sauce. I don’t like my food too spicy so I skipped the hot sauce. Toss the chicken to cover evenly with sauce.

Cover the fries with the chicken mixture and top with cheese. Place back in the oven for about 5 minutes or until cheese is melted.
You can top with feta cheese, sour cream and chives, if you wish.

buffalo chicken fries

If you’ve seen my original recipe then you’ll notice that I cut back on the buffalo sauce. It was a bit too much last time. J likes his food pretty spicy, but even he thought it was a little overdone. I also changed the amount of chicken to 6 ounces. I try to position the chicken so that his russet potato and my sweet potato each had approximately 3 ounces of chicken.

This time around the buffalo chicken fries turned out perfect. I think I found the best recipe!

The Best Buttercream Icing

buttercream icing

Remember the chocolate cupcakes I made the other day?  Well I promised I would share the buttercream icing that goes with them.  I’m back just to give you the easiest buttercream icing ever.

My family went on and on about how great these cupcakes turned out.  I think they were a little surprised.  To be truthful, I’m a little hit or miss on my baking.  Sometimes I can turn out some tasty desserts that are hard to resist… And others I get distracted and burn my sweets.  Oops!  I try to multi-task a little too much.

classic buttercream icing

I was patting myself on the back with this one.  The finished right on time, the cooled while I blogged a little and then I whipped up this easy buttercream icing to go with.  It was not an all day affair, which is perfect for me.

Ingredients:

2 sticks unsalted butter, softened
4 cups powdered sugar
1/2 teaspoon salt
2 teaspoons vanilla extract
3-6 teaspoons milk

In your stand mixer, place the putter and powdered sugar.  Turn to low and start to combine.  Slowly add in the salt, vanilla, and milk.  You can add more or less milk to reach the consistency you want.

easy buttercream icing recipe

I wanted something a bit stiff so that I could use my star tip to ice the cupcakes.  This buttercream icing would be perfect for cookies, cake, and other sweets.  You could even add another flavored extract into the icing for a little something different.  I’m thinking a little mint would be really fresh for a summer treat. The possibilities are endless!

chocolate cupcake with buttercream icing

Adapted from i heart naptime.

Melt in Your Mouth Chocolate Cupcakes

cupcake

Last Sunday we headed over to my parents to hang out by the pool, grill some good food and just relax.  I’m not much of a grill master.  Actually I pretty sure I’ve burned everything I’ve ever tried to grill.  So I usually just leave the grilling to J and I work on other tasty items to bring along.

I had been craving some chocolate cupcakes with buttercream icing.  I searched and searched until I found what looked like the best chocolate cupcakes that didn’t take all day to bake.  I mean, come on!  I do not want to spend all day in the kitchen making 2 dozen cupcakes.  It’s just not worth it to me.  I would be better off buying pre-made cupcakes for that time.

chocolate cupcake with buttercream icing

You need to know something about these chocolate cupcakes… I feel like I owe it to you.  You will struggle only eating one.  Seriously!  These are that good.  I couldn’t help myself!  So much chocolate, but not in the struggle-getting-it-down kind of chocolate.  I’m talking about the kind that stays on your mind once you’ve tasted it.

That’s when you know it’s good.

Here’s what you need for melt-in-your-mouth chocolate cupcakes recipe:

1 box of chocolate cake mix (I bought the cheapest box I could find.  I’m not about to spend $3.00 on a box of cake mix when there is one for less than a $1.00 on the shelf)
1 box of chocolate pudding mix
4 eggs
3/4 cup of canola oil (any oil will do, that’s all I had on hand)
1 1/2 cups of mini chocolate chips
3/4 cup of very warm water
8 ounces of sour cream

Combine the cake mix and pudding mix in your stand mixer bowl.  Add the chocolate chips, stir to combine.  Put the paddle attachment on and put on low speed.  Add one egg at a time, waiting for them to combine before adding the next.  Mix in the oil and water.  Finally add the sour cream.  Stir on low speed until well mixed.  Using a rubber scrapper, get any mix off the side of the bowl.

chocolate cupcake recipe

Preheat the oven to 325 degrees.  Prepare two cupcake pans with liners and fill with mix 3/4 of the way full.  Bake for 30 minutes or until fully done.  I used the toothpick method to tell.  Once the toothpick came out clean then it was done.

The mix will freak you out a bit.  Before you add the sour cream, the batter will look a bit watery.  But don’t worry.  Just keep mixing and add in the sour cream.  Once the sour cream is fully incorporated, it will pull together.

chocolate cupcake

Let cool completely before icing.  I made a delicious buttercream icing to go with mine.  I’ll post the recipe later this week for you.

classic buttercream icing

recipe adapted from i heart naptime.

Fried Chicken Salad and America

lake

For the 4th of July J and I got out of the house for a little while.  We drove about 30 minutes out of town to find the best fishing spot.  After we wondered around for a bit we discovered this (new to us) creek.  As you can tell… I caught the only fish of the day, a baby catfish.

4th of july 4th of july fried chicken salad

I prepared a yummy picnic for us.  I made a tasty, like melt in your mouth, fried chicken salad.  It was perfect for a day out by the lake.  It a no fuss, no mess lunch.  Just what we needed!

After we fished, we headed over to my parents where J grilled some pork steaks for everyone.  Then him and my Dad disappeared for almost an hour to find some jaw-dropping fireworks.  They showed back up with J’s truck bed full, I mean overflowing of massive fireworks.

Bud

J and my Dad designed the perfect show that blew the neighbors’ out of the water.  We even let Bud come sit outside with us and he did great.  He wasn’t scared at all!  He just laid next to the truck and kept his eyes on J the whole time.  We laughed, we were in awe, and it was overall a great night.

IMG_4494 Untitled design (1)

Now I want to share with you the recipe for my oh-so-yummy fried chicken salad.  Here’s what you need for a perfect snack by the water:

4 cups of fried chicken, diced*.
3/4 cup of mayo
1/4 cup of mustard
3 green onions, diced
1 teaspoon italian seasoning
1 teaspoon oregano
1 teaspoon red pepper flakes
pinch of salt and pepper

*I found it easier if the chicken is cold when you cut it.  That way the skin stays on the meat.

Mix the mayo, mustard, onions, italian seasoning, oregano, red pepper flakes, salt and pepper in a medium-sized bowl.  Add the chicken and toss to coat.  Set it aside for about 25-30 minutes so the flavors can meld together.

fried chicken salad

I made the fried chicken salad and then went ahead slicing the yummy bread I brought just for the sandwiches.  I decided not to pre-make the sandwiches before we left.  My bread was a bit soft and I didn’t want it turn mushy before we could eat it.  So I brought paper plates and tongs with us to build the fried chicken sandwiches.

I have to say that I out did myself this time around.  J loved them!  So much so he ended up having one the next day at 10am!  Perhaps it was because I overslept and didn’t feel like making breakfast, but I’m going to say it’s because they were that good!

fried chicken salad

Recipe adapted from Southern At Heart.

Coke Zero Pulled Pork Recipe

Note: Some links in this post contain affiliate links, which means I may receive a commission if you make a purchase. Thanks for supporting my blog!

slow cooker pulled pork recipe

I’m not going to lie – I lucked out in the husband department big time.  There are a lot of days that when I get home J has already started dinner.  All i have to do is make a side dish then pull up a chair.  I’m one lucky lady!

This past week J and I had one of those days… you know the kind.  You wake up extra early because you just have too much going on.  I had a few meetings and things to finish at the office, studying for my next CFP exam, a luncheon and then I was heading to Crossfit.  Poor J had to get up early to get to work then he spent most of the day lifting and moving beer around.  Ah the glamorous life of the Bud Man!

Those are the days that the crock pot is my best friend.  A crock pot dinner has to be the best invention.  On a day that I know will be crazy long and filled with meetings, the last thing I want to do is come home to cook.  I try to plan ahead and look at my calendar the night before.  If I know it’s going to be a crazy day then I usually try to plan a slow cooker meal.

I want to let you in on something, okay?  I’m in love with my slow cooker.  It’s a love affair that has taken off very slowly.  It started with dishes that I was comfortable with, like salsa chicken and beef tacos.  Now, I’ve slowly been venturing into new territory with different recipes.

I haven’t quite cooked anything for breakfast in the slow cooker yet.  I guess I’m waiting for the perfect recipe.  J isn’t a huge egg fan and most of the recipes I find call for loads of eggs.  The ones that don’t use a ton of eggs seem to feed a small army and well, it’s just the two of us.  I don’t like wasting my food.  So I’m sort of waiting until family come to visit before busting out a breakfast dish.

Let’s get back to my dinner recipe I tried out.  It’s a pulled pork recipe that turned out amazing!  It literally melted in my mouth – it was so good!

Here’s what you need for my coke zero pulled pork recipe:

– 3lbs pork shoulder
– 1 1/2 cups of Coke Zero (any soda will do)
– 1 tsp. salt and pepper
– 2 tsp. onion powder
– 1/2 cup of BBQ sauce

slow cooker pulled pork recipe

Directions:

Rub the pork roast with salt, pepper and onion powder on all sides.
Place in the slow cooker and pour soda on top.
Cook on low for 7-8 hours (or high for 4 hours)
Grab a fork and start pulling the meat apart.
Pour on the BBQ sauce, cover and cook for an additional 30 minutes.
Serve and enjoy!

slow cooker pulled pork recipe

I made some cornbread to go with the dinner.  I ended up having a fried egg, carrots and some salad with homemade Greek dressing with mine.  The perfect busy day dinner!

My Favorite Ice Cream Topping

2 ingredient ice cream topping

If you love ice cream as much as me then you are going to love this homemade topping. With just 2 ingredients you can take any ice cream from great to exceptional!

Lately, I’ve been munching down on some Arctic Zero ice cream. I love their ingredients and nutritional information in comparison to other frozen treats. I have to admit that their taste isn’t always a sugar-filled yummy explosion like the other brands, but it’s definitely tasty.

I had a few macros left the other night and decided to pull out a childhood favorite to pour on top. Now I couldn’t completely relive my childhood, because I did have to measure/weigh out the ingredients. But it still tasted just as my 8 year old self could remember.

Here’s what you need to make this delicious ice cream topping:

2 Tablespoons of Peanut Butter – I used Nuts n’ More in Peanut Butter. I love the high protein and low carb count compared to other brands.
1 teaspoon syrup – I used Aunt Jemima original

Put in a small microwave safe dish. Cook on high for about 10 seconds. Stir and continue to cook in increments of 10 seconds until desired consistency is reached. I like it to be soft enough to pour on top of my ice cream.

2 ingredient ice cream topping

The cold temperature of the ice cream will freeze the topping pretty quickly, but I like it like that.

The whole topping (if using what I used) has 205calories / 10g Carbs / 12g Fat / 14g Protein