


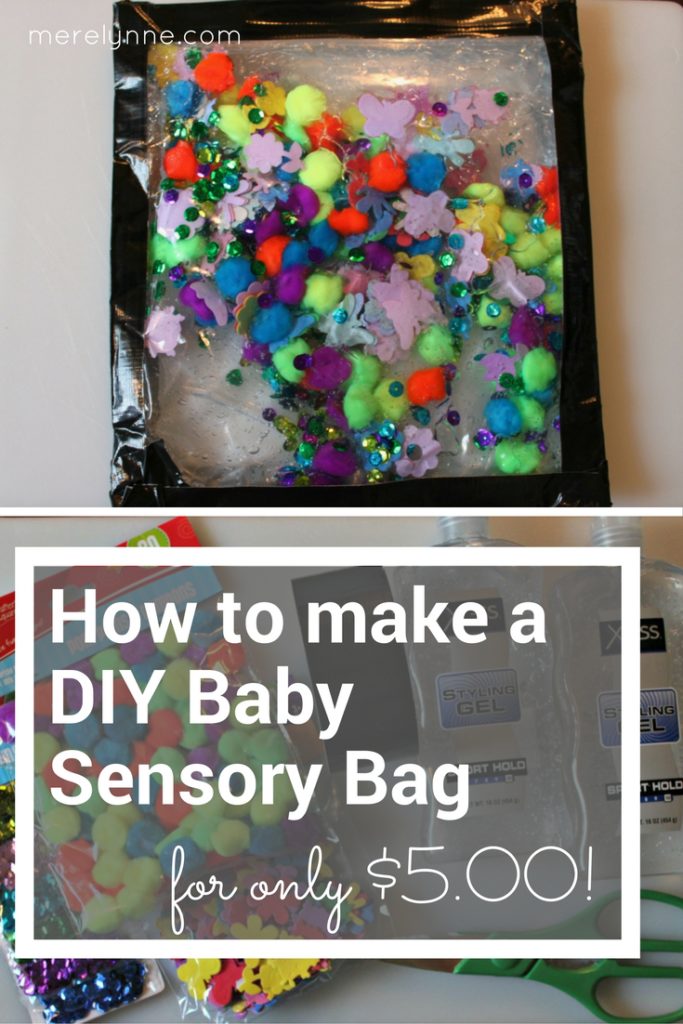
I’ve seen these sensory bags all over Facebook and decided it was about time our little guy had one. I of course didn’t want to spend a fortune and I didn’t want to take forever to make one.
I created a quick video tutorial or you can follow along below:
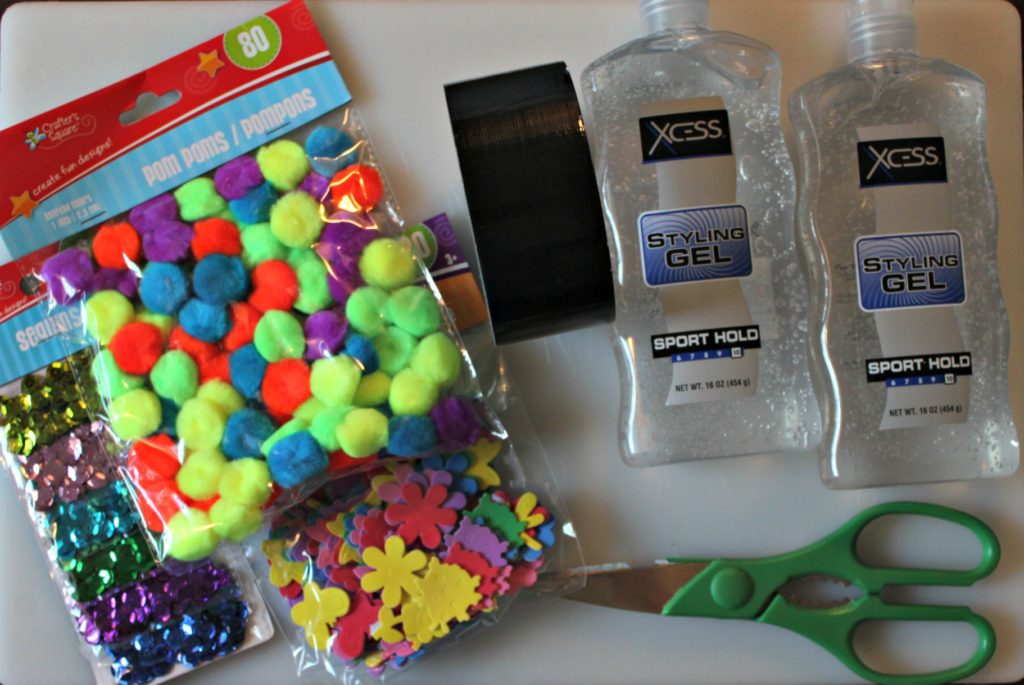
Supplies Needed for your DIY baby sensory bag:
Gallon freezer bag, make sure it’s the freezer one since they are thicker and more durable
Duck Tape
Hair Gel
Colorful Items – I used sequins, pom-poms and foam stickers
Scissors
All together I spent $5.00 on this project. I went to my local Dollar Tree for everything. I’m thinking the hair gel must be petty decent because I had to search for 2 bottles. They were completely out of stock. I already had the freezer bag and duck tape, so that helped in my savings.
First, put the gel in the bag.
Then add the colorful pieces. You can as much or as little as you want. I did quite a bit to have different stuff to catch our little one’s eye.
Close the bag and then place your duck tape around all four edges. This just gives the bag some extra toughness to help prevent any leaking,
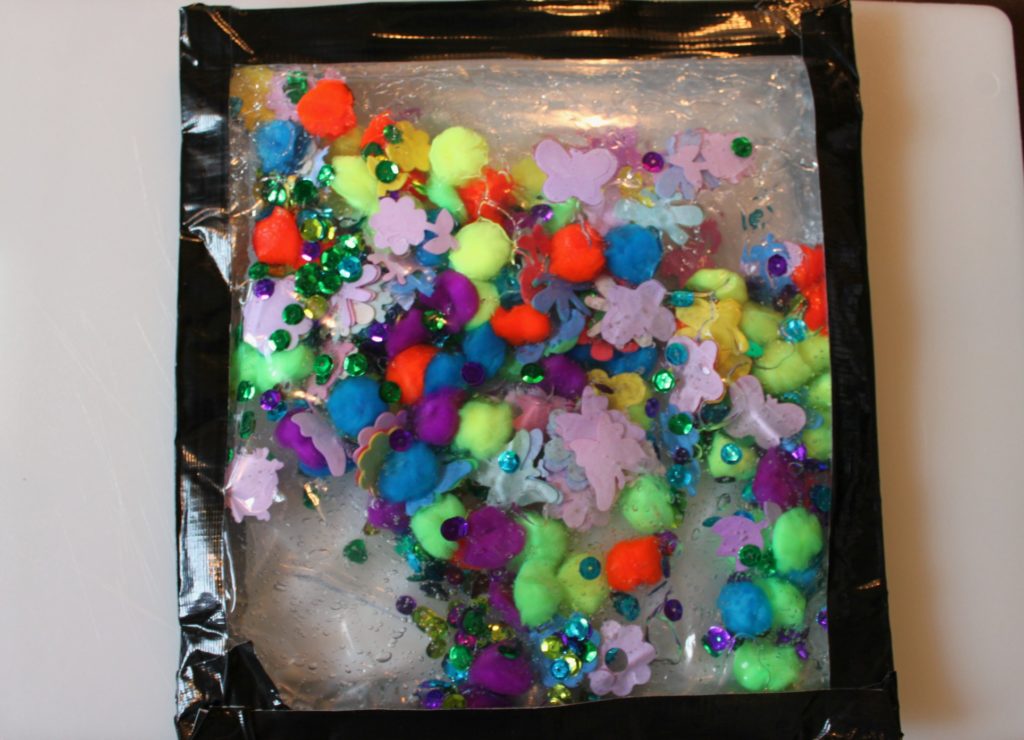
That’s it. You have a DIY baby sensory bag! Our guy loves it. I tried to pick it up to move him into the other room, he gave me a really mad look and held onto the bag with a death grip.

Latest posts by Meredith Rines, MBA, CFP® (see all)
- How To 10X Your Productivity With This Simple Tool // Using A Red Line Graph - June 24, 2020
- Mini DIY Office Makeover [Photowall Review] - June 17, 2020
- How To Track Your Projects and Profit With Subcontractors - June 11, 2020