Tag: DIY

I said “Yes!”

keep-calm-we-got-engaged-1

It’s official, J and I are engaged!

28084_10100525995737464_509688762_n

I still get a big, goofy smile on my face when I say that sentence. I have been in la-la land planning, dreaming the perfect wedding.

I hope to share ideas and DIY projects that we will be incorporating into our wedding.  So far, I’ve ordered a few items from Etsy.  A lovely save-the-date sign from ArmyMOMOfTwins for our engagement photo session and because her signs were just too hard to pass up I also ordered a Mr. and Mrs. sign for our reception chairs.  Check out the save-the-date sign here and the reception chair signs here.

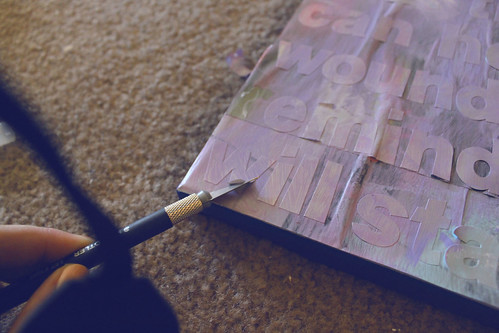
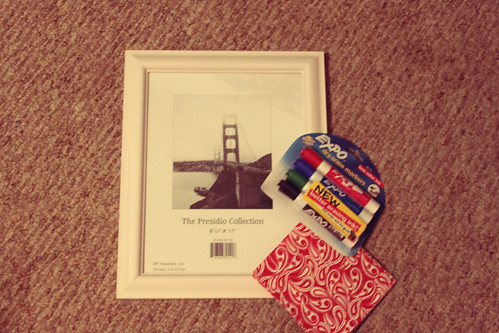
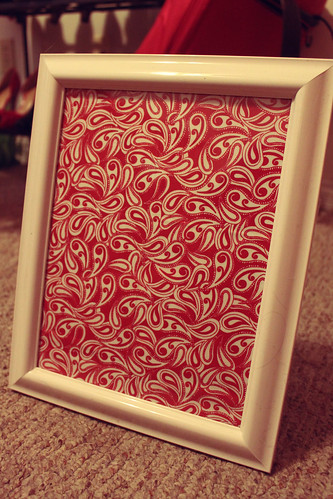
I had a hard time deciding which projects that I wanted to make myself and which ones I would order from Etsy or have someone else do.  I finally reached a decision maker that was too hard to argue with… If it is going to cost more to get the materials needed to make it than it would to purchase (including shipping costs) than I would order it.  It was simple money-saving tactics that persuaded me.  I don’t need a bunch of paint, ribbon, and other items that I will not use for another project.

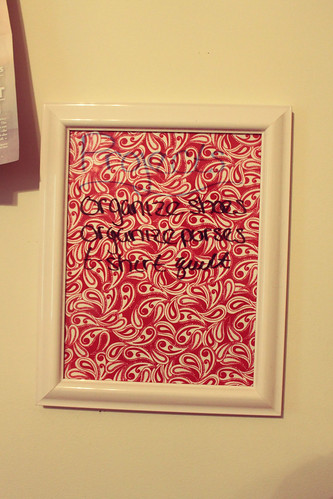
I hope to share my projects, ideas, and final outcomes throughout the planning process.  We have about 9 months till the wedding, so I have some work cut out for me.

Cheers,

Mere

photo credit

Check Marks for Fall

fall

Now that it is finally starting to feel like fall around the heartland I can create my fall to do list.  Here are a few of the things that I cannot wait to cross off with my favorite season of the year.

1) Ghost Tour of the historic Pythian Castle here in Springfield.

2) Carve a pumpkin.

3) Host a ‘family’ Thanksgiving dinner with J and the pup.  Since are families live 3 hours apart it will be hard to spend time together on the actual day, so we have hopes of celebrating together – just our little family.

4) Update my wardrobe with a few new chunky cardigans and eye catching scarves.

5) Spend some time reading something out of enjoyment and not necessity.  First up – Gone Girl by Gillian Flynn.

6) Complete a few crafts that I have been putting off, including my new nail polish display rack.

7) Start researching a new home to rent this coming Spring.

8) Become a bit more organized with my budgeting.

9) Drive to my absolute favorite in the world Apple Butter Festival in Kimmswick, MO

10) Develop some new post ideas and tutorials.

Now that fall has officially arrived, what are your plans?

No Heat Curls {Tutorial}

I have seen these headband, no heat curls on some blogs and pinterest.  So, I decided to give it a try.  My hair has a natural aversion to curl – this aversion goes way back to when I was a senior in high school and waned curly hair for prom. You know the classic – you always want what you don’t have syndrome.  After several, long hours at the salon my hair was curly… and weighed an extra 10lbs from all of the product!

I’ve gotten off topic.  You take a stretchy headband and place over your head (across your forehead).  Then take your hair and wrap it around the band until it’s all tucked away. like so…

In the morning your hair may look something like this …. or if you are a more peaceful sleeper it may not look so jacked up.

Take out the band and ta-da you have curls!

Disclaimer: I’m sorry that I decided to go au’ natural in these photos and…well for the poor quality.  I was pretty tired the night before and then might have overslept the next morning.  Girl does have to get her beauty rest!

So far, the curls have lasted.  Of course, I gave them a good dousing of hairspray.

Enjoy!

About 8 hours later, I was still sitting in front of my laptop studying for my pending stats test.  I had ran to the grocery store, started a casserole for dinner, and may have taken a break…or two.  Here’s what the hair looked like:

I think it still had some nice texture to it. Definitely not the same amount of curl tho! Darn my hair!

September Favorites


1/2/3/4/5/6/7/8/9/10

Looking back at my favorite fall posts for the month of September.

DIY Canvas Word Art with Paint {Tutorial}

step6

I found a way to combine my love of art, music, and crafts.  This past weekend I created a work of art using lyrics from one of my favorite songs by New Found Glory.  The song: Tell Tale Heart.

Supplies:
1 Canvas, Mod Podge (I used Matte), X-Acto knife, paint brush, magazines (or newspaper), painters tape

step1

Step One: I taped off the edges of the canvas using painter’s tape.  I wanted the edges to remain white.  Step Two: I found some neat magazine clippings and used Mod Podge to adhere them to the canvas.  Then let dry.  step3step4

Step Three: I arranged the letters to the lyrics on the canvas.  step4a

Step Four: Paint over using one, two, or more colors.  I used four.  I like color and couldn’t seem to stop adding more.  step5

Step Five: After it is dry, peel off the vinyl letters using the X-Acto knife, if needed.  Step Six: If desired, use one more layer of Mod Podge over the artwork.

step6

Enjoy your new masterpiece.

DIY Project Board

To say I’m a dreamer is a bit of an understatement.  I have all these ideas and projects swirling around in my head at all times.  This past weekend, I finally took a moment to capture my ideas.  But first I had to create a project board, naturally.

supplies

You’ll need: 1 picture frame of your choosing, fabric large enough to cover the entire frame, scissors for trimming, and dry erase markers.

First measure the fabric.  I wanted mine to be a bit larger than the frame backing (for good measure).

step1

Second, I cut (not much explaining there).

Finally, I put it all together and then hang on the wall.

finished

Overall my Project Board cost me $9.00 and about 10 minutes, which includes re-hanging my pictures on the wall to make room.

finishedprod

I think it turned out great and now I have a place to capture projects and ideas.

hangingonwall

Now, I could have put some lettering spelling out “projects” on the fabric before piecing the frame back together, but I didn’t think it was necessary and who knows – that frame may take on a second life someday.

The total cost for this project broken down:

Frame – $4

Expo markers – $4

Fabric – $1

Total: $9 and about 10 minutes

Enjoy!

Mani color for the week

20120730-124549.jpg

Each weekend I try to have some me time by giving a DIY manicure. This week I went with Sinful Colors in Be Happy. Here’s to hoping this week will be a happy one.