How to Personalize Your Snapcode

I have finally started getting into Snapchat. I used Snapchat when it first came out and then I stopped. But I’ve been seeing some of my favorite bloggers use it and I love the behind-the-scenes glimpses in their lives. So I wanted in on the action and created a new account. I’m constantly sharing the struggles of having a newborn, working, and being very sleep deprived. Follow me @meredithines.
You know, it’s easy to hide yourself and hide behind a blog post. But to grow your business then you can’t be afraid to stand out. (Tweet that!)
Anyway, I had to personalize my own Snapcode to match my blog a bit better and add my username. It’s super easy and thought I would share it with you.
Step 1
On your computer, login to Snapchat.
Step 2
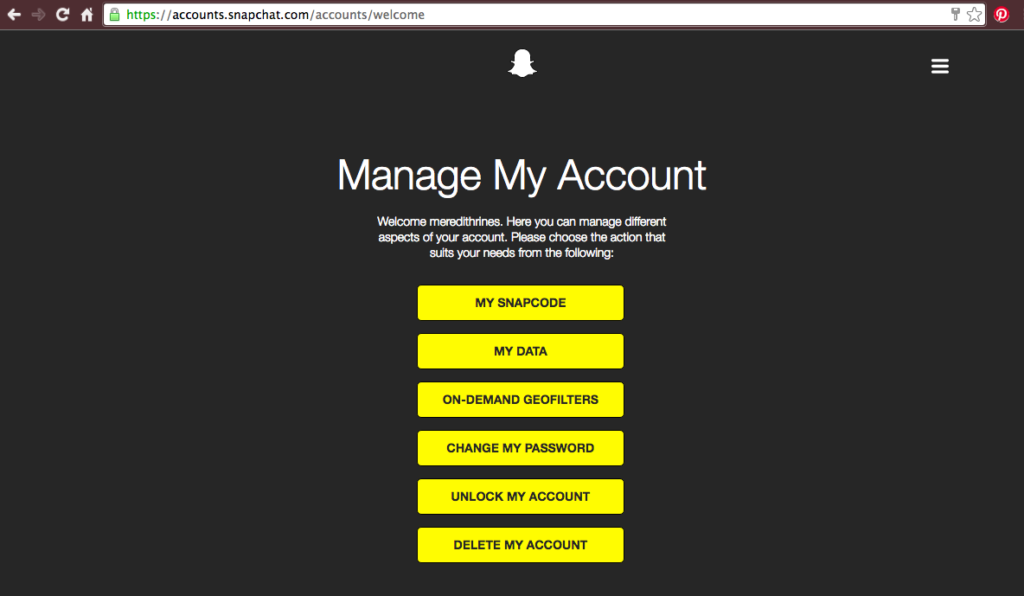
You will see a screen like this one, click My Snapcode. Then click Download Snapcode. It will download as a ZIP file containing the PNG and SVG files of your Snapcode.
In the file there are Snapchat’s Dos and Don’ts of personalizing your Snapecode. Pay attention to those guidelines, otherwise your code won’t work.
Step 3
Use a photo editor for the next steps. I like using Pixlr, a fee online editor that is similar to Photoshop. Open the PNG format.
Step 4
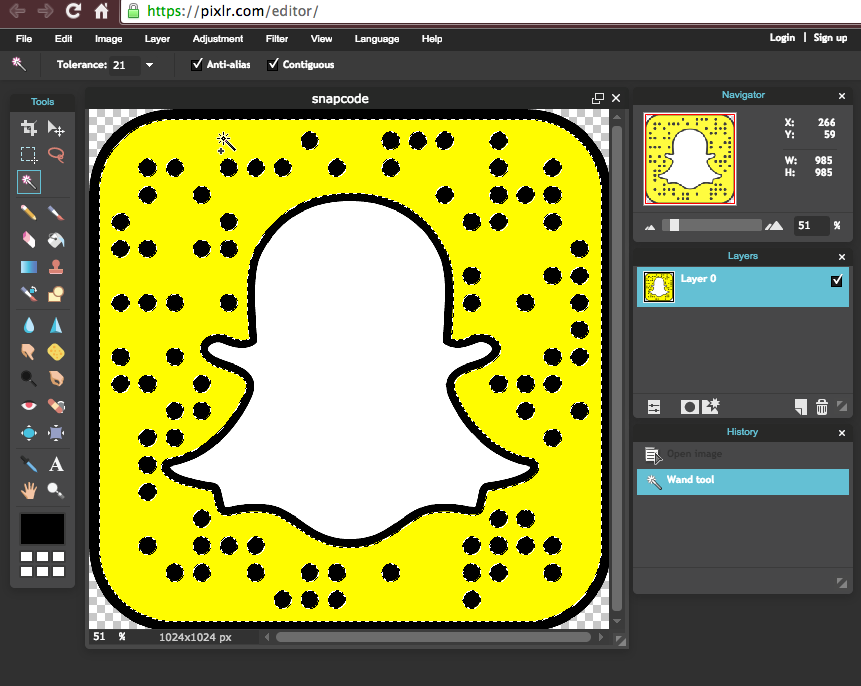
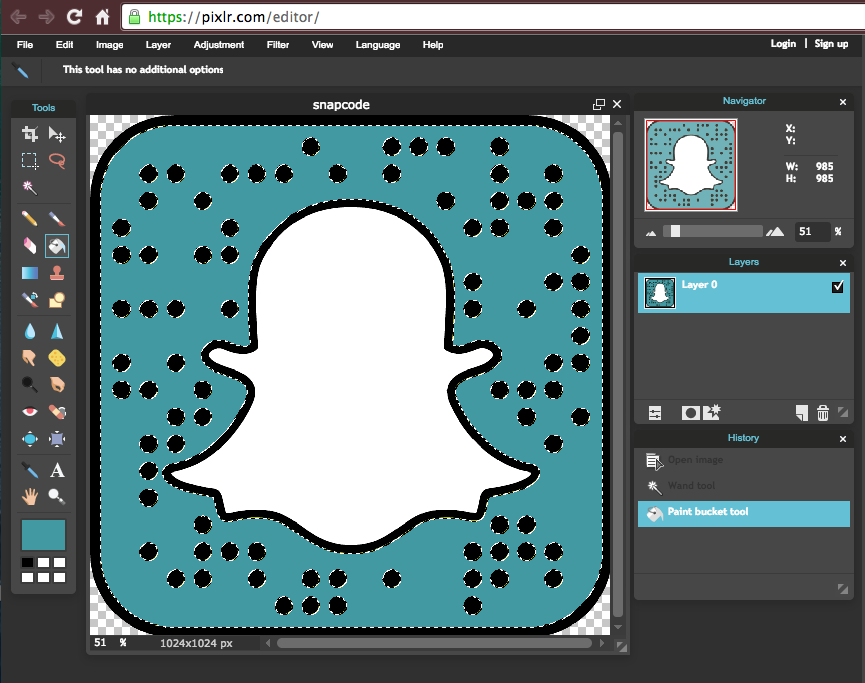
Select the wand tool and select the yellow portion of the image. Once it’s highlighted, you can change the background to your color choice by using the paint bucket. I think making it a color you use on your online presence is a good idea. I use teal in a lot my images, so that’s what I went with. If you know the color code you would like to use, you can enter it in.
Step 5
You can enter your own image under the ghost. Using the wand tool, select the white portion. Then click delete.
Step 6
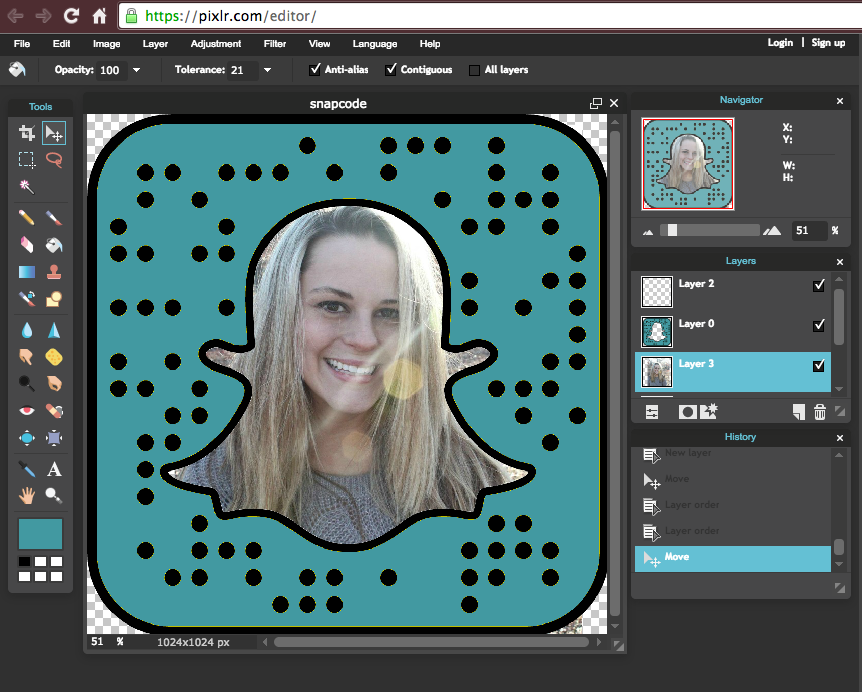
Selecting the image you want to use. Go to Layer > Open image as layer.
Step 7
Move the image under the ghost. Click on Layer > Move layer down.
Step 8
If you have a portion of the image that sticks out, you can remove it. Use the lasso tool. Draw around the part that you want to remove. Once highlighted, hit the delete button.
Step 9
You can add text at this point. Just don’t cover up the black dots since that’s your code.
Step 10

Save your image and you’re done.
Thanks for stopping by! Hope this helps!
Leave me your snapchat name in the comments so I can follow you.

Latest posts by Meredith Rines, MBA, CFP® (see all)
- How To 10X Your Productivity With This Simple Tool // Using A Red Line Graph - June 24, 2020
- Mini DIY Office Makeover [Photowall Review] - June 17, 2020
- How To Track Your Projects and Profit With Subcontractors - June 11, 2020