


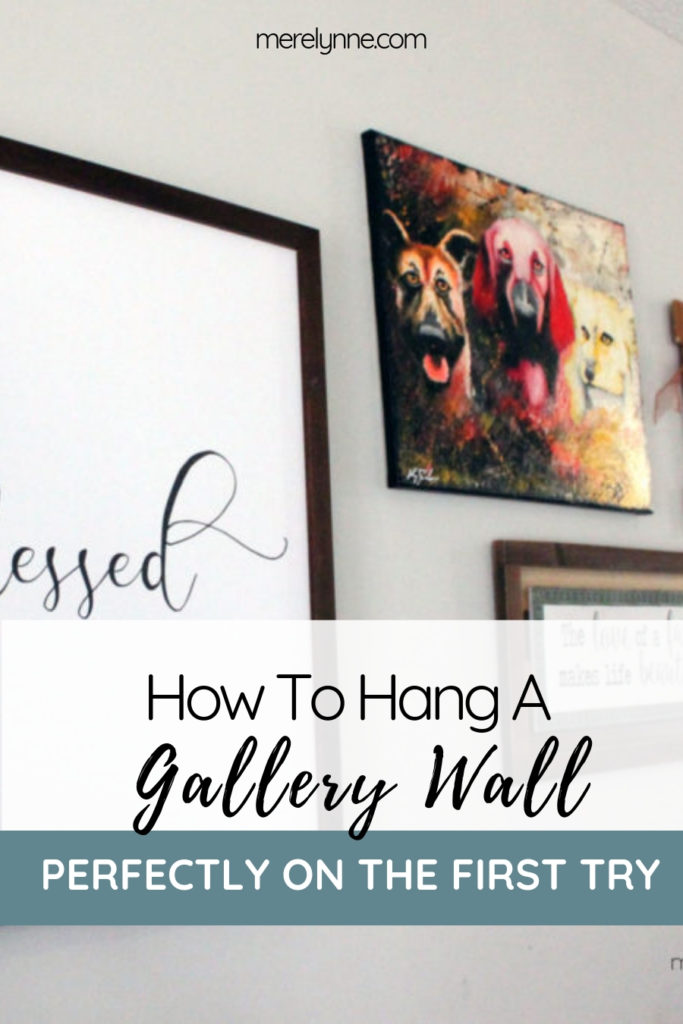
Do you love the look of a perfectly polished gallery wall, but aren’t sure how to pull it off? Well you’re in luck! Today’s post is all about making your gallery wall look effortless and perfectly paired without nailing wrong hole after hole into your walls.
Measure First
Grab a tape measure and make sure you know how wide and how tall you want your gallery wall to me. Grab some painters tape to mark the boarders so you can visualize it.
Layout Second
Next take your measuring tape and painters tape to mark off a matching-sized section on the floor. This will give you a chance to check your spacing and see how each piece will look next to one another.
Snap A Photo
Grab your phone and take a photo of the final layout to refer back to if needed.
Measure Again
This time you need to measure the space between each picture. That way you know how much room to leave to get your perfect look.
Only Put One Hole
Grab your painters tape and flip over your picture. Lay your tape on the back of your picture, making sure it’s level. Then take a pen to mark the spot where the nail needs to be. Peel off your painters tape and put it on the wall in the spot the picture will go. Grab a level to make sure it won’t hang crooked and then hammer in your nail. You can easily peel off the tape around your nail or hook.
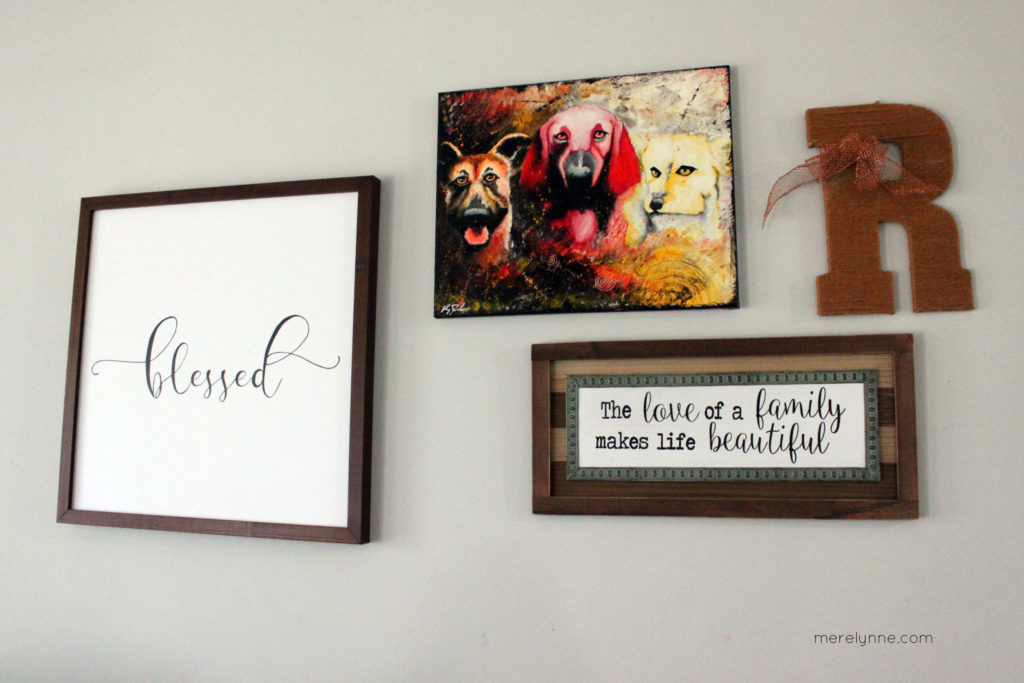
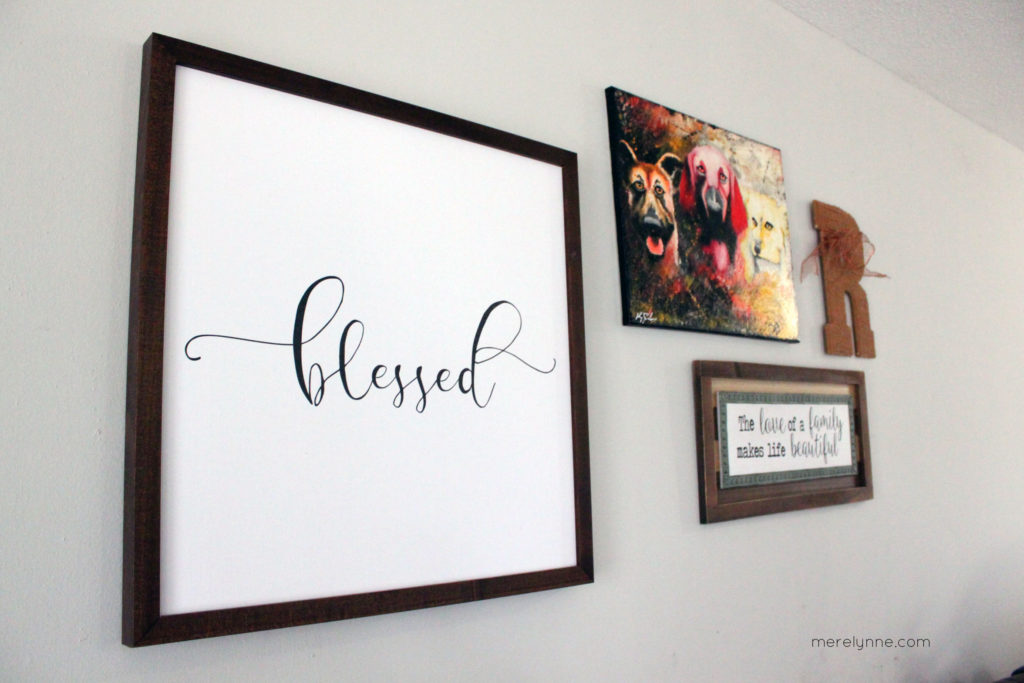
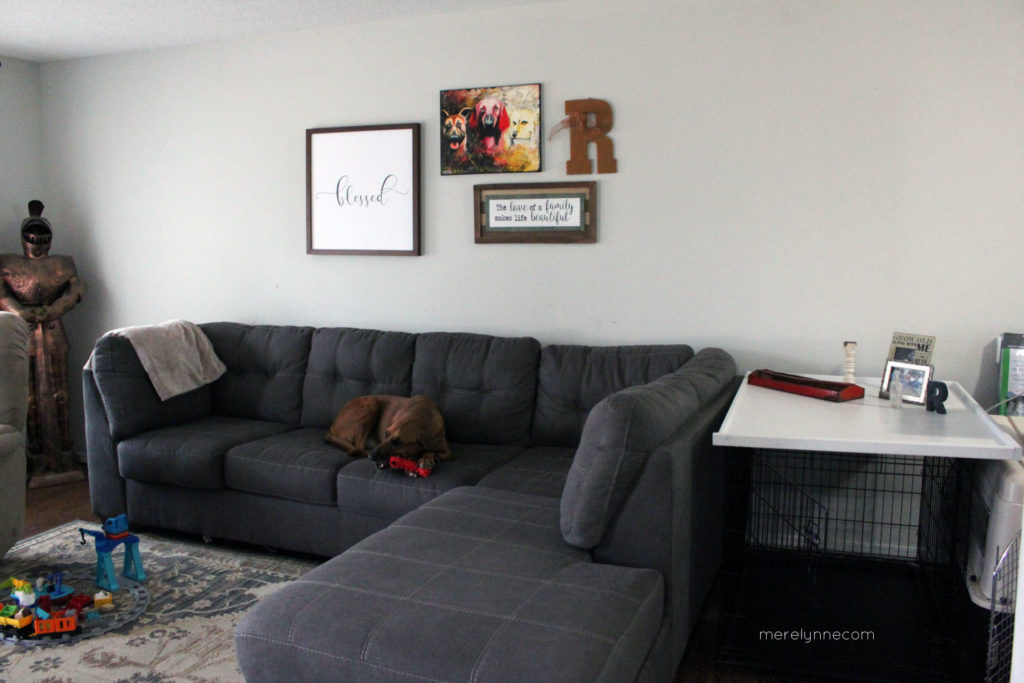
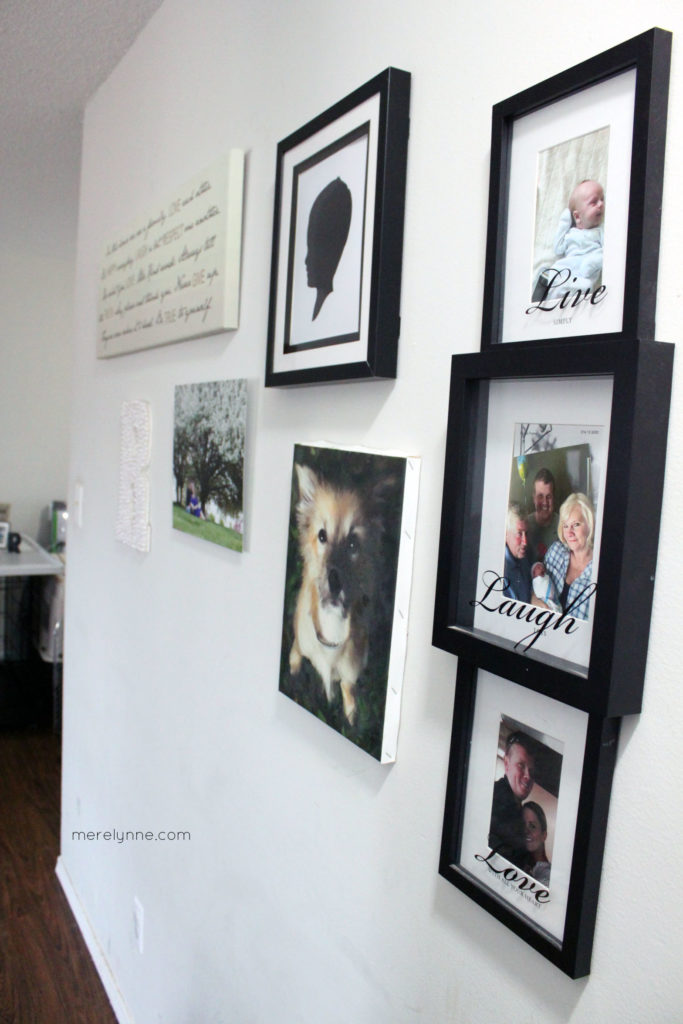
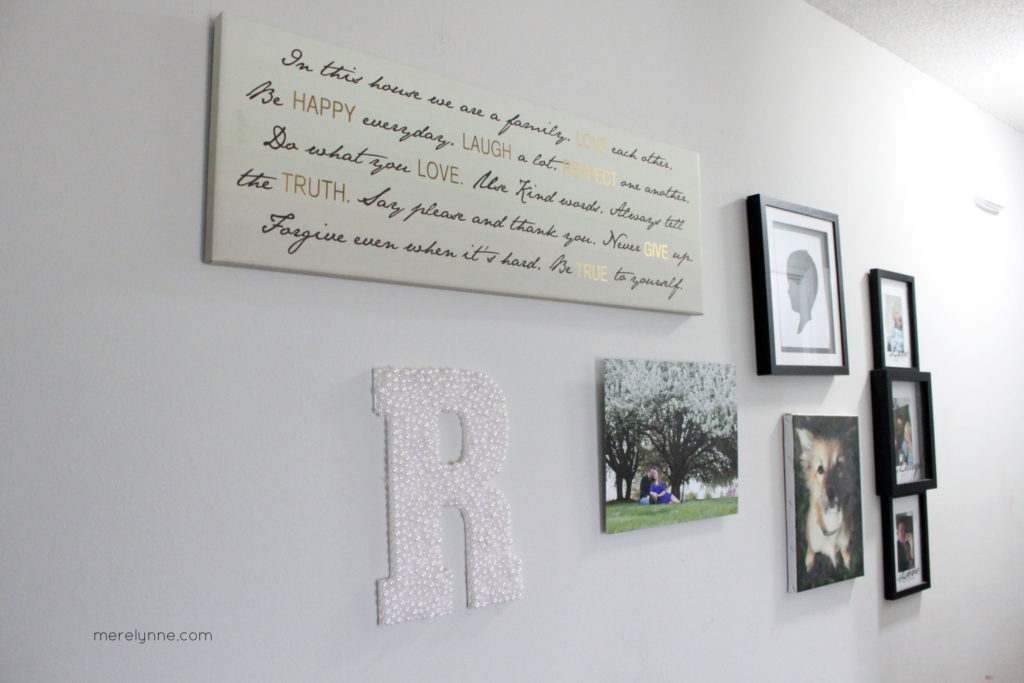
There you have it – the perfect DIY gallery wall tips. When we recently did our family room makeover and our playroom transformation, we opted to change up some of our pictures. Which meant all new gallery walls that needed to be designed. Luckily with these tips there wasn’t one singly mistake made and we were able to knock out all three walls in less than 45 minutes.

Latest posts by Meredith Rines, MBA, CFP® (see all)
- How To 10X Your Productivity With This Simple Tool // Using A Red Line Graph - June 24, 2020
- Mini DIY Office Makeover [Photowall Review] - June 17, 2020
- How To Track Your Projects and Profit With Subcontractors - June 11, 2020